UPPAbaby Aria Infant Seat Review: Hits the High Notes

![]()
![]()
![]()
![]()
![]()
UPPAbaby Aria Rear-Facing Only Infant Seat Review
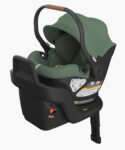 The UPPAbaby Mesa rear-facing only infant seat (RFO) has been a popular choice among parents for years because it’s easy to install and use, and it pairs so well with UPPA’s mainstay Vista stroller. Now UPPAbaby has released the feature-rich Aria, the lightest RFO on the market at 5.9 lbs. Of course, UPPAbaby would make sure Aria connects easily to Vista, creating another powerhouse travel system. Let’s see if the Aria sings as a carseat.
Height & Weight Limits
Weight: 4-30 lbs.
Height 30” or less AND a min. of 1” of headrest above head at all times seat is in use
Aria Specs & Features
Under 6 lbs. without canopy and insert (lightest on the market in marketing terms)
6.8 lbs. with canopy and insert
No-rethread harness
1 crotch buckle position
2-piece infant insert: back piece up to approx. 4 months, bottom piece (preemie cushion) 4-9 lbs.
Bottom piece for positioning boost up to bottom slots
Back piece for helping with head positioning
European belt routing for baseless installations
Anti-Rebound + Panel, plus 5th handle anti-rebound position
Built-in lockoff
Auto-retracting LATCH
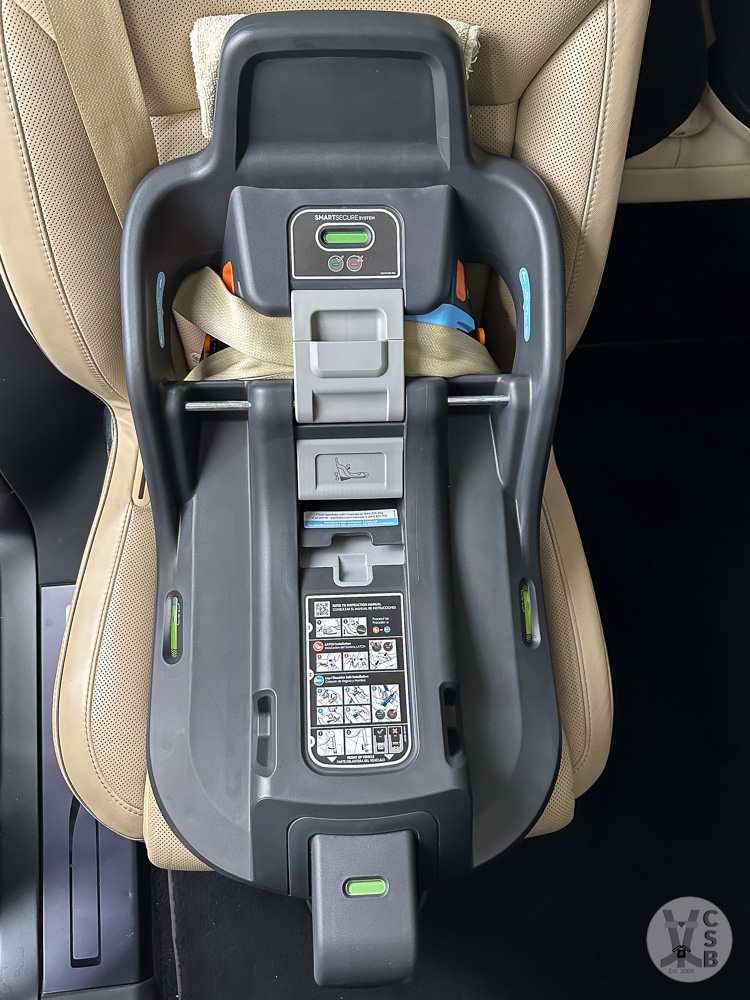
SMARTSecure™ system provides visual confirmation of tight installation using red/green indicator at belt path and on load leg
Meets new FMVSS 213a side impact standard and 213b testing protocols
 Extra-large canopy with pop-out sunshade
Back panel ventilation for additional airflow to keep child cool
GREENGUARD Gold Certification with flame retardant free DualTech™ fabrics
Complimentary virtual consultations with a CPS Tech for product support available
Child Fit Guide on website: https://uppababy.com/child-fit-guide/
Carrier is FAA-approved, not base
7-year expiration
MSRP: $349.99

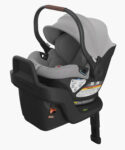
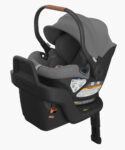
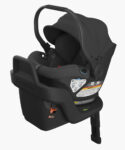
Aria Measurements:
Lowest harness slot height with insert: 5 ¼”*
Lowest harness slot height without insert: 8”*
Crotch strap (without insert): 2”
Width of carrier at widest point: 16 ¾”(outside of handle hubs)
Carrier weight: 6.7 lbs. with inserts; 6.2 lbs. without insert
Why is my weight so different than the advertised 5.9 lbs. weight? UPPAbaby measured without the canopy and the inserts. It’s kind of a cheat, but it’s what all of the other manufacturers with super lightweight RFOs do.
*See Fit-to-Child Section
Fit-to-Vehicle
General Installation Notes:
Before setting the base on the vehicle seat, turn it over and pull the load leg out of its storage position. Double-check your vehicle owner’s manual to make sure you can use a load leg in the seating position in which you’re installing the Aria. Some vehicles with in-floor storage compartments forbid their use.
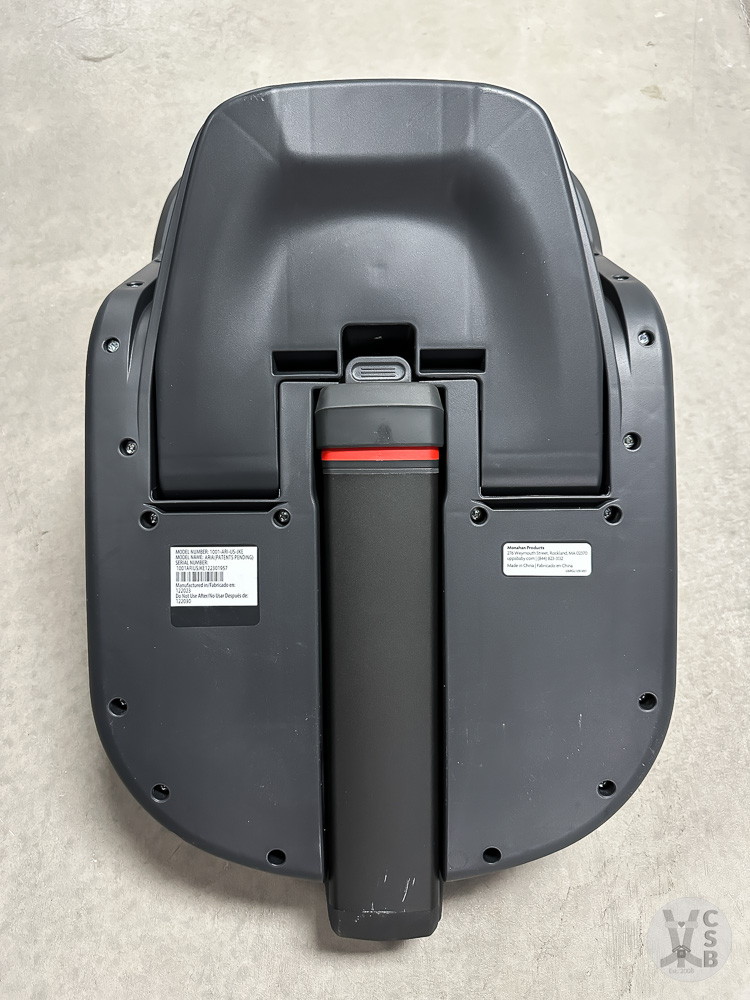
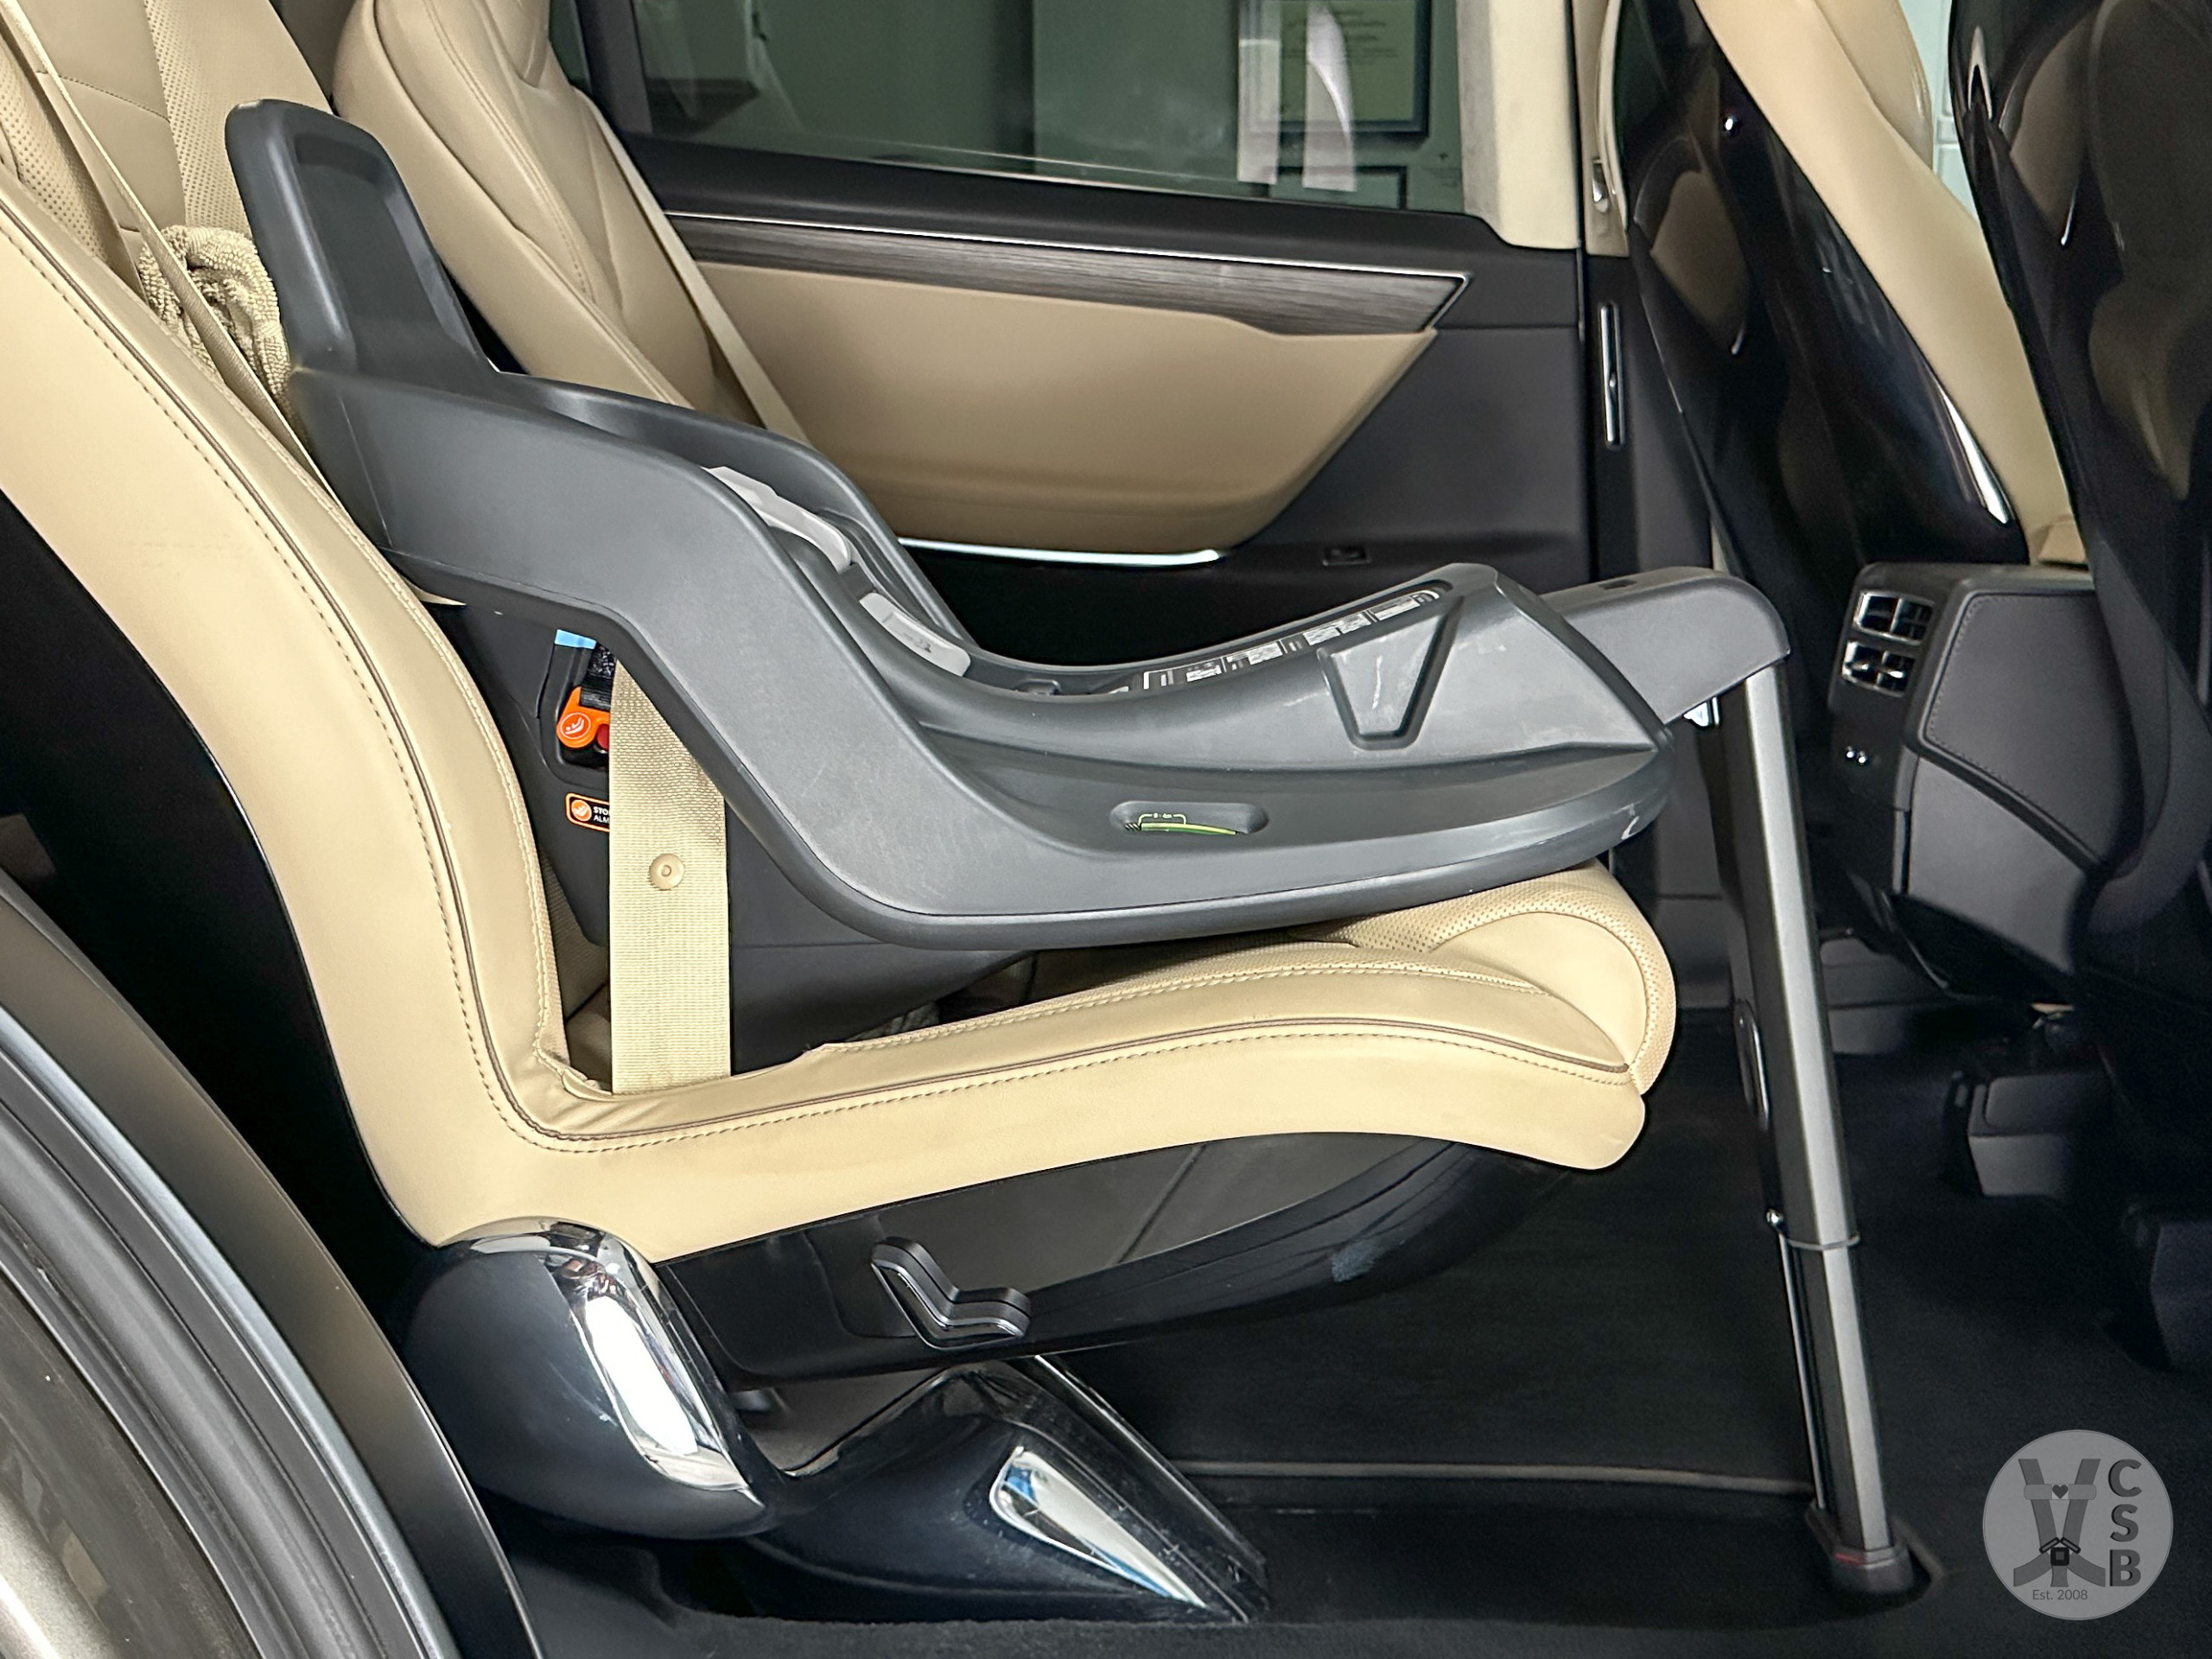
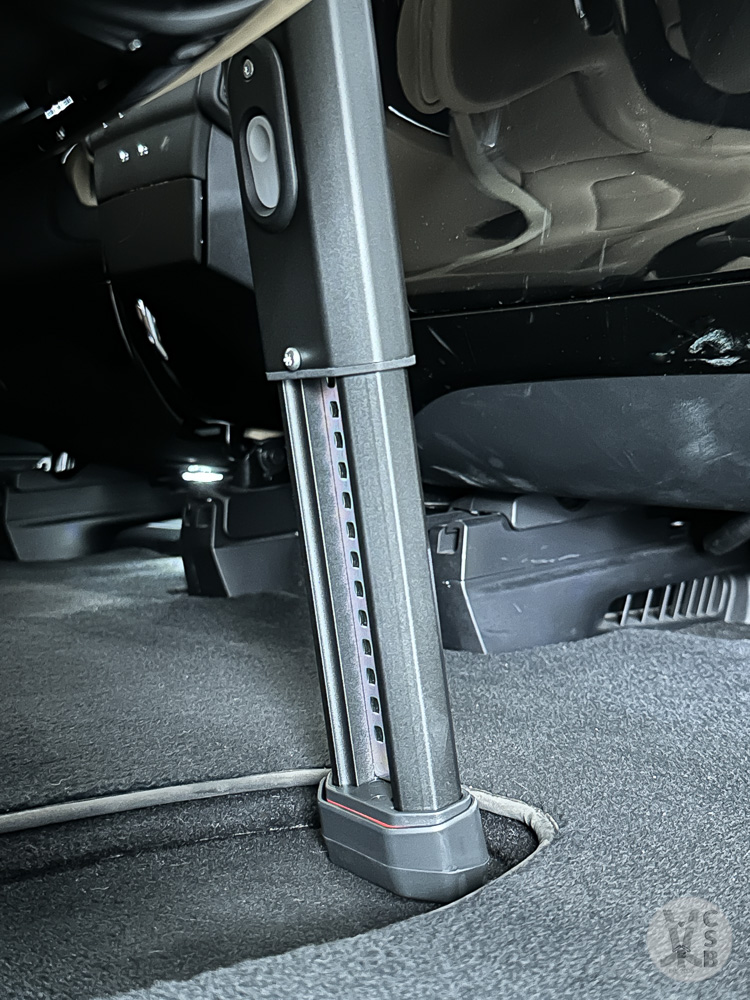
Floor mats must be removed when using load leg. Let me explain. In the owner’s manual in the installation sections under “Leveling Base,” there’s a note where UPPAbaby “recommends” removing the vehicle floor mat before installing the base. This is so the load leg has good contact with the floor and doesn’t shift if passengers getting in and out of the vehicle move the floor mat. Floor mats also come in different thicknesses depending on manufacturer and type, which may interfere with solid contact. In educational webinars UPPAbaby has conducted for child passenger safety technicians, they’ve firmly worded it that the floor mats “must” be removed. CarseatBlog always recommends following written manufacturer advice when applicable. If you can, and want, to remove your floor mats, before installation, the recommendation is that you do so.
Vehicle seat protectors not permitted. This is in the FAQ section on the UPPAbaby website. All properly installed carseats will leave imprints on vehicle seats. It’s a fact of life and it’s considered normal wear and tear. The Aria base is very smooth on the bottom and won’t scratch the seat as long as you don’t drag it along the ground and scuff it up. Liquids can still get underneath seat protectors and that’s what ruins vehicle seats. Gross.
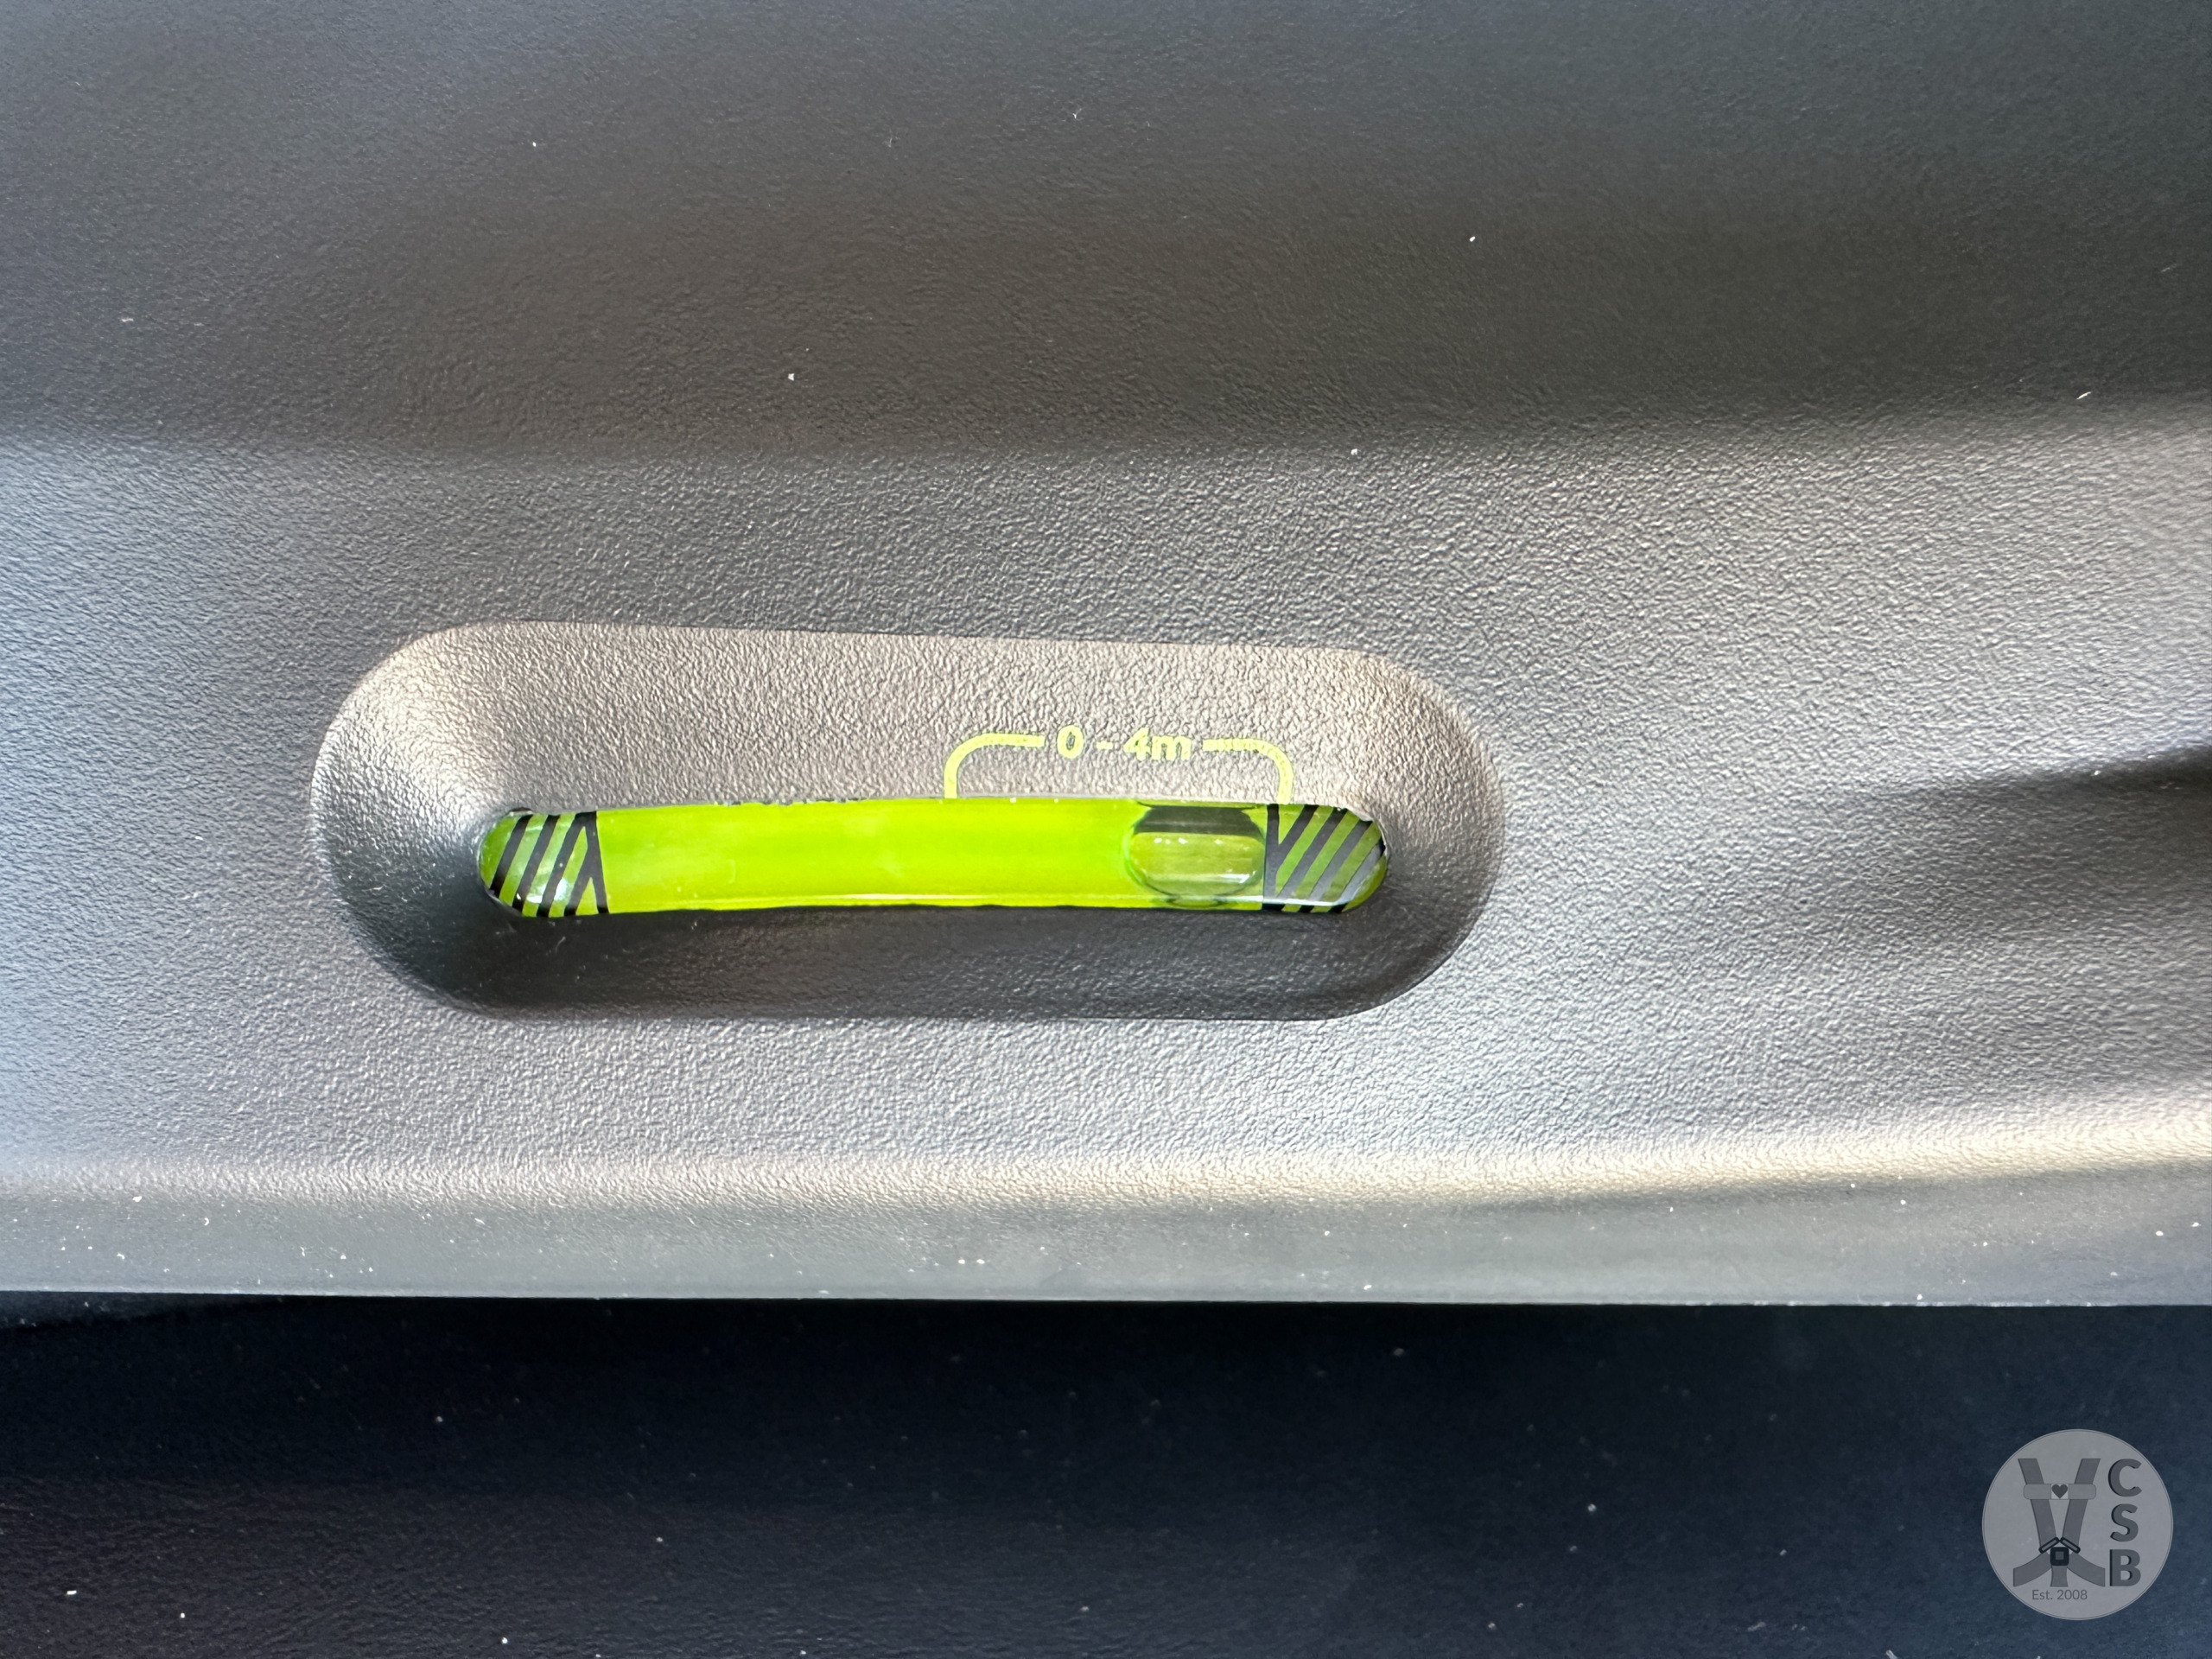
Recline angle indicator – There is a bubble recline indicator on both sides of the base.
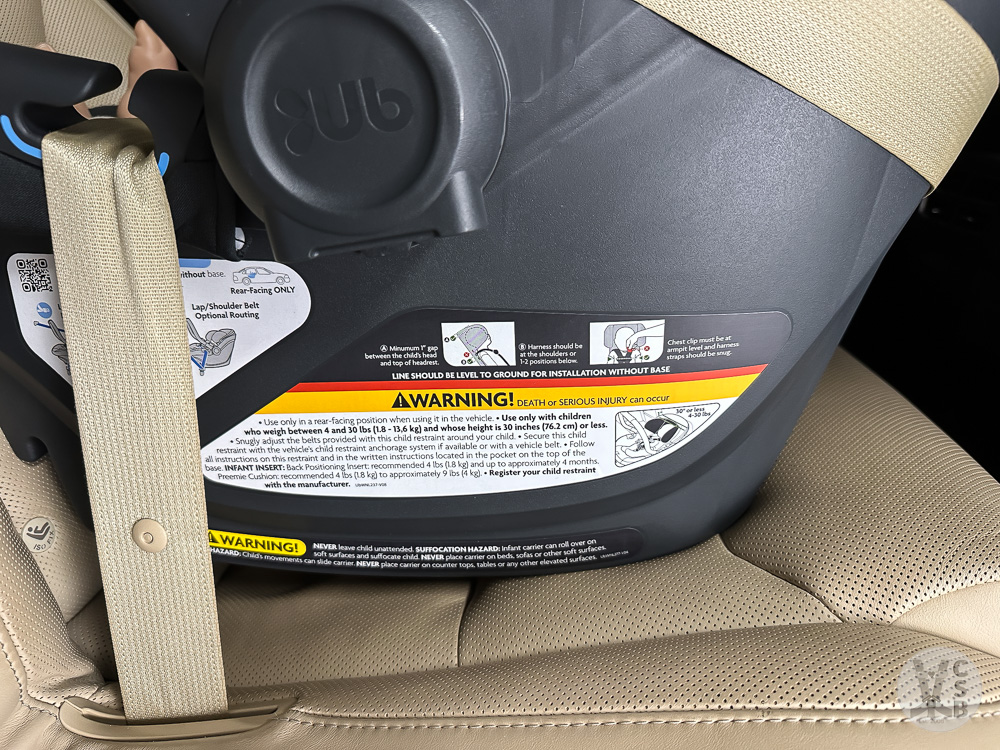
For installation without the base, there is a long red line above the yellow warning indicator label on each side of the carrier.
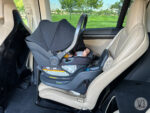
Noodles/Rolled towels – Allowed. If the built-in recline foot isn’t sufficient, leave the foot in its most extended position and use a noodle or a rolled towel. I found for my vehicle, just one noodle or tightly rolled hand towel was enough to boost the recline into the 0 to 4 months range (cyan arrow in the pic below).
Also, if the base doesn’t sit flush against the vehicle seat back, you’ll need a tightly rolled hand towel to fill the space. This happens if your seat has what’s called a “waterfall” in the bight (crack) area; a waterfall is a little bump-out in the bight. The towel fills the space and keeps the base flat on the seat and from tipping up. See the green circle below.
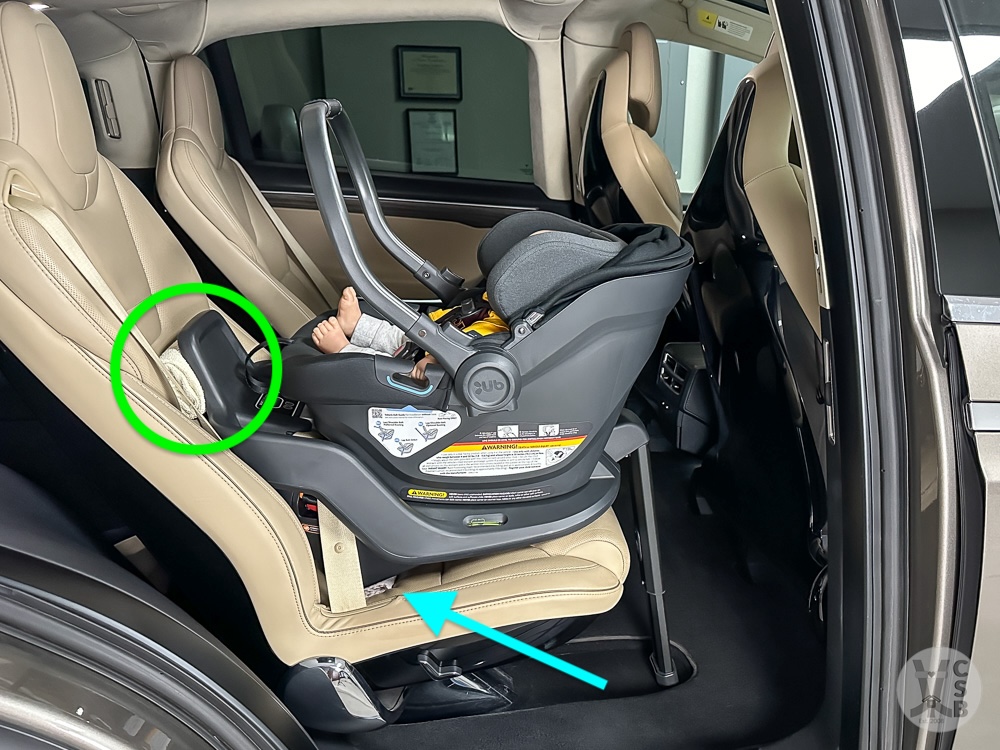
Overhang – UPPAbaby requires 80% of the base to be on the vehicle seat.
Installation with LATCH – The Aria base has the deluxe push-on LATCH connectors that look like staplers. Make sure they’re upright when you push them on the lower anchors. The LATCH system is self-retracting, so you have to hold the connectors to keep them out. Push on the orange button nearest the connector you want and pull on the corresponding orange tab; push it onto your lower LATCH anchor on your vehicle seat. Push down on each “shoulder” of the base to tighten.
Center LATCH installation with non-standard LATCH spacing: Center LATCH borrowing allowed up to 22” as long as the vehicle permits
LATCH tension may tend to adjust in your vehicle over a few days as it did in mine. I actually did a few experiments over several weeks using pool noodle vs. tightly rolled towel vs. seat belt install. I noticed initially that the SMARTSecure visual indicator on top of the base was fully green (as you would expect), but over a couple of days of driving, it started turning red though with about ¼“ difference in tightness over a week. Our UPPAbaby rep assured me it was the LATCH belt stretching a bit and the vehicle seat cushion compressing in the heat (we’d had record high temps over 110° for over a week). The base went from shaking the car solid to moving a smidge.
The SMARTSecure visual indicator is a good reference point to look at and if you start seeing red in the window, give the belt path a tug to make sure it’s still tight. Switch to a seat belt install if LATCH isn’t working.
(Please pardon all the specs on the carseat and vehicle seat. It’s ash from wildfires a state away. 😭)
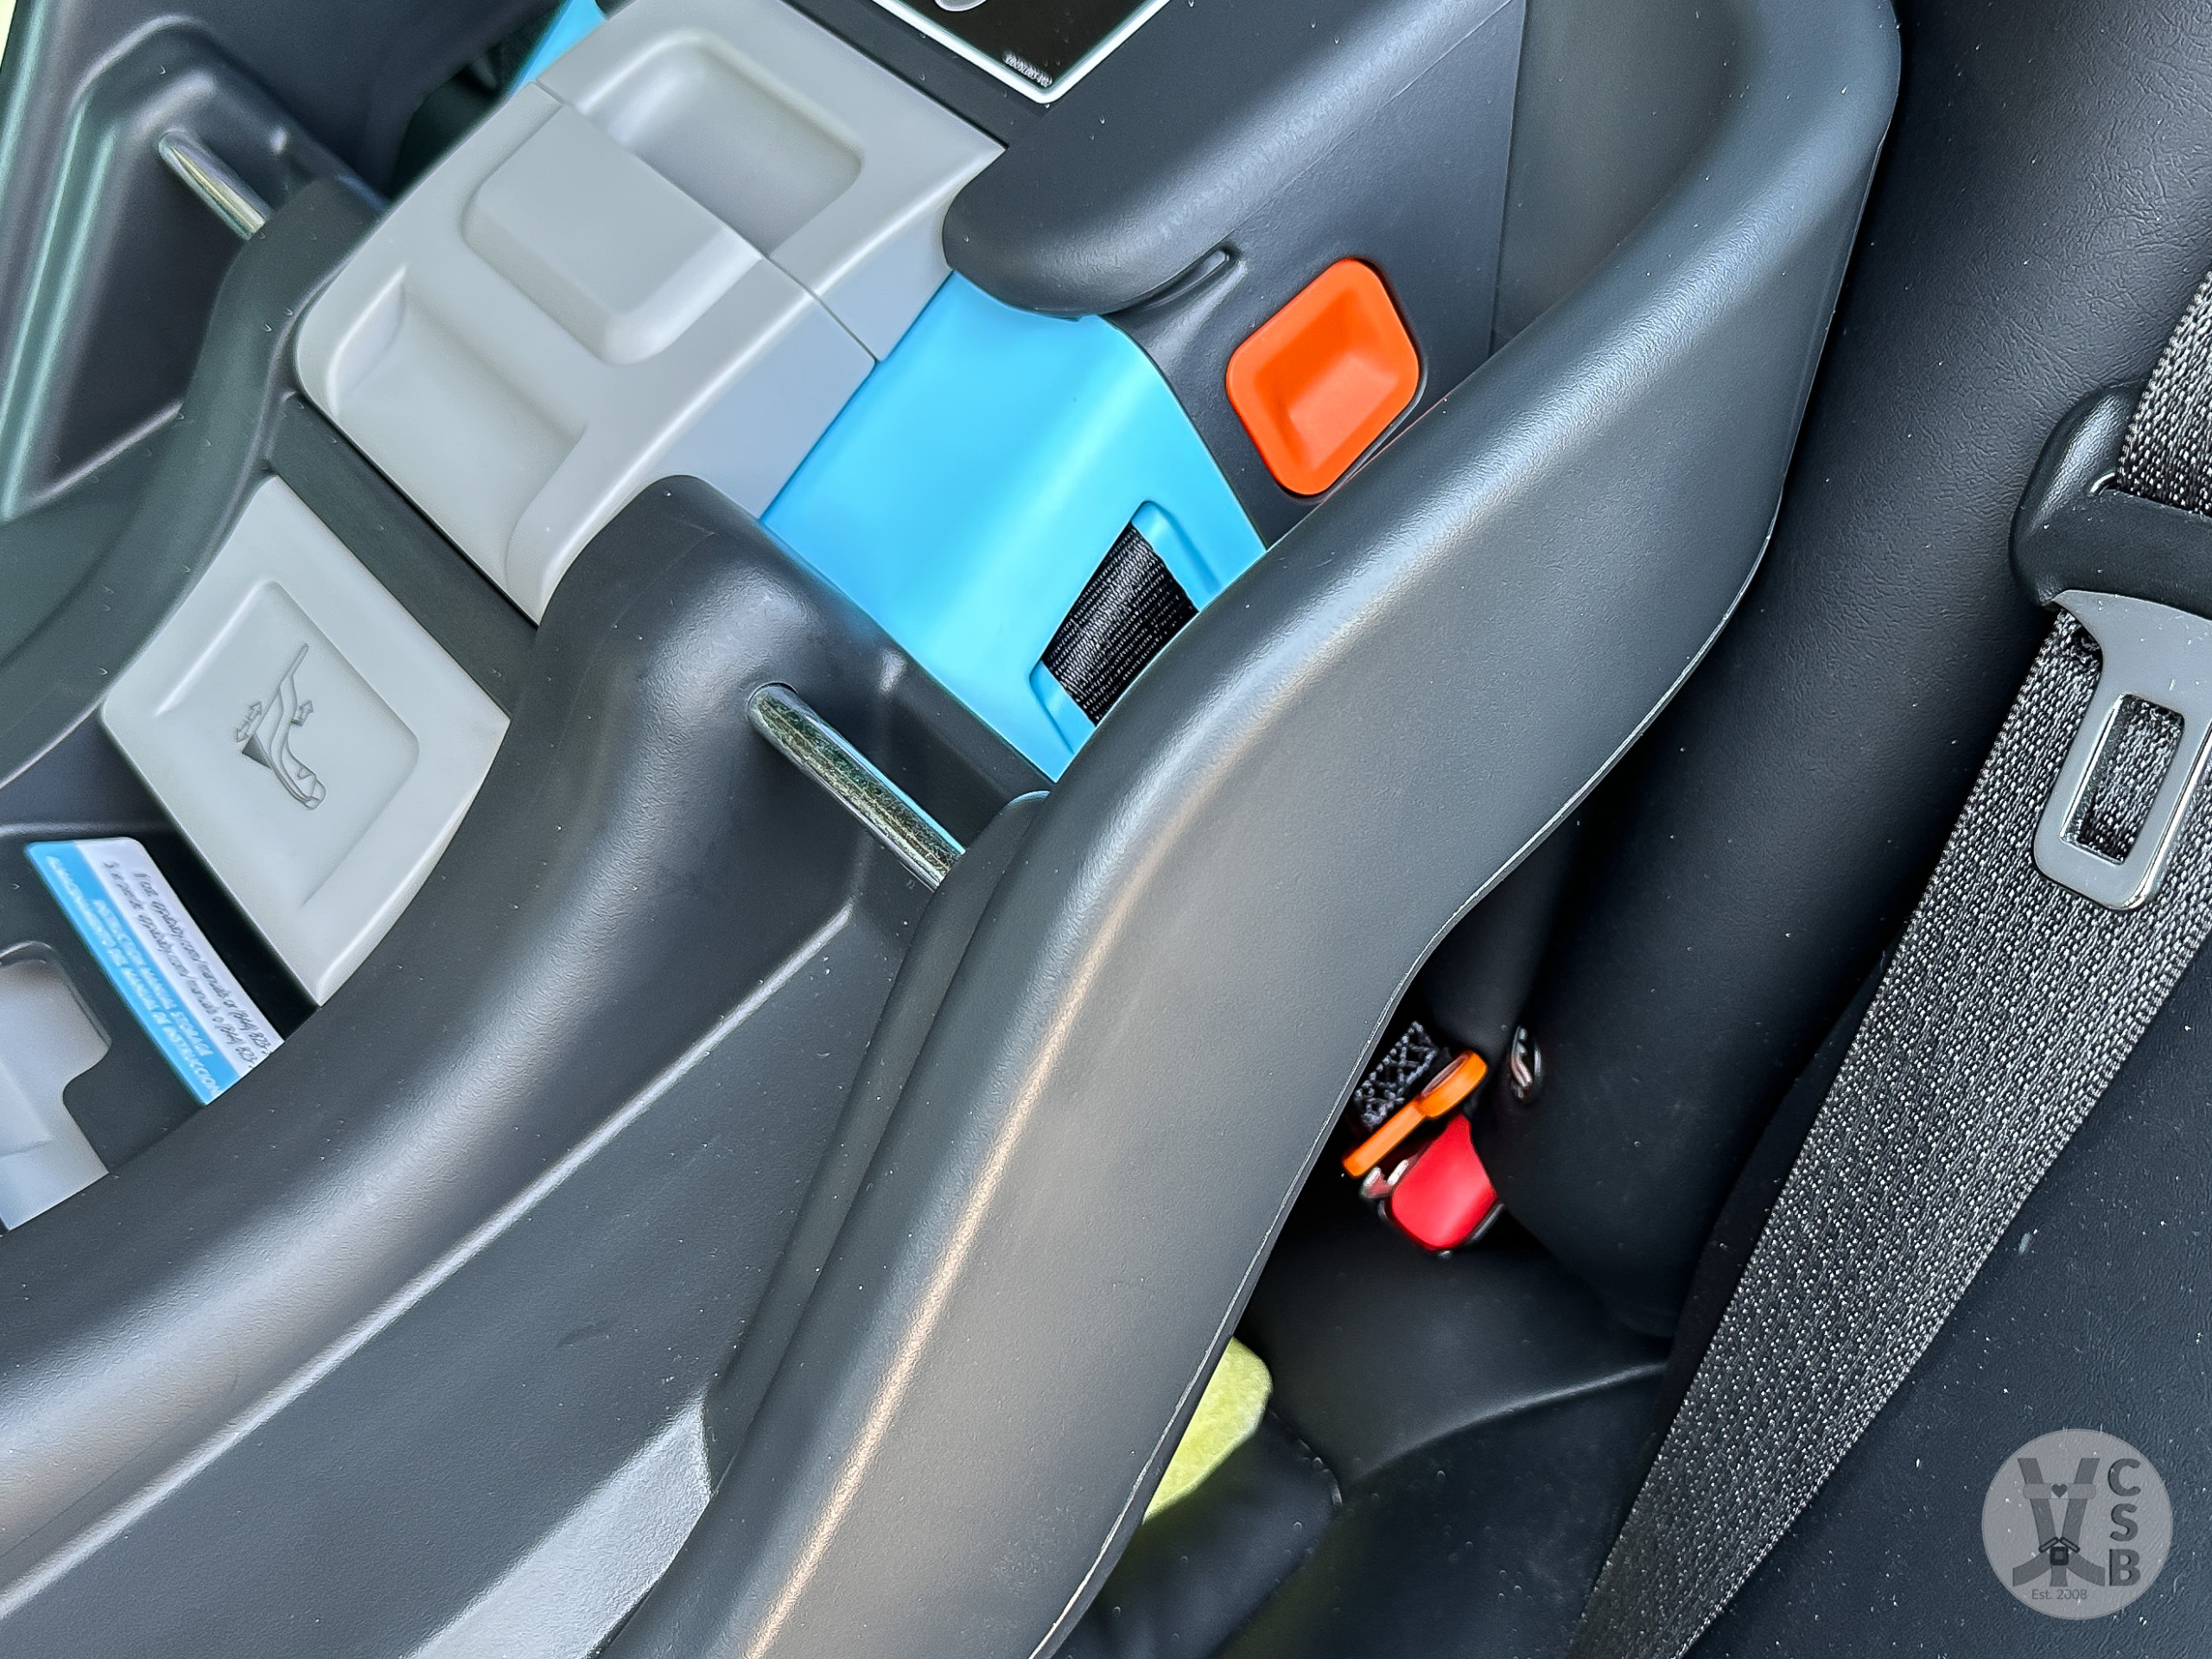
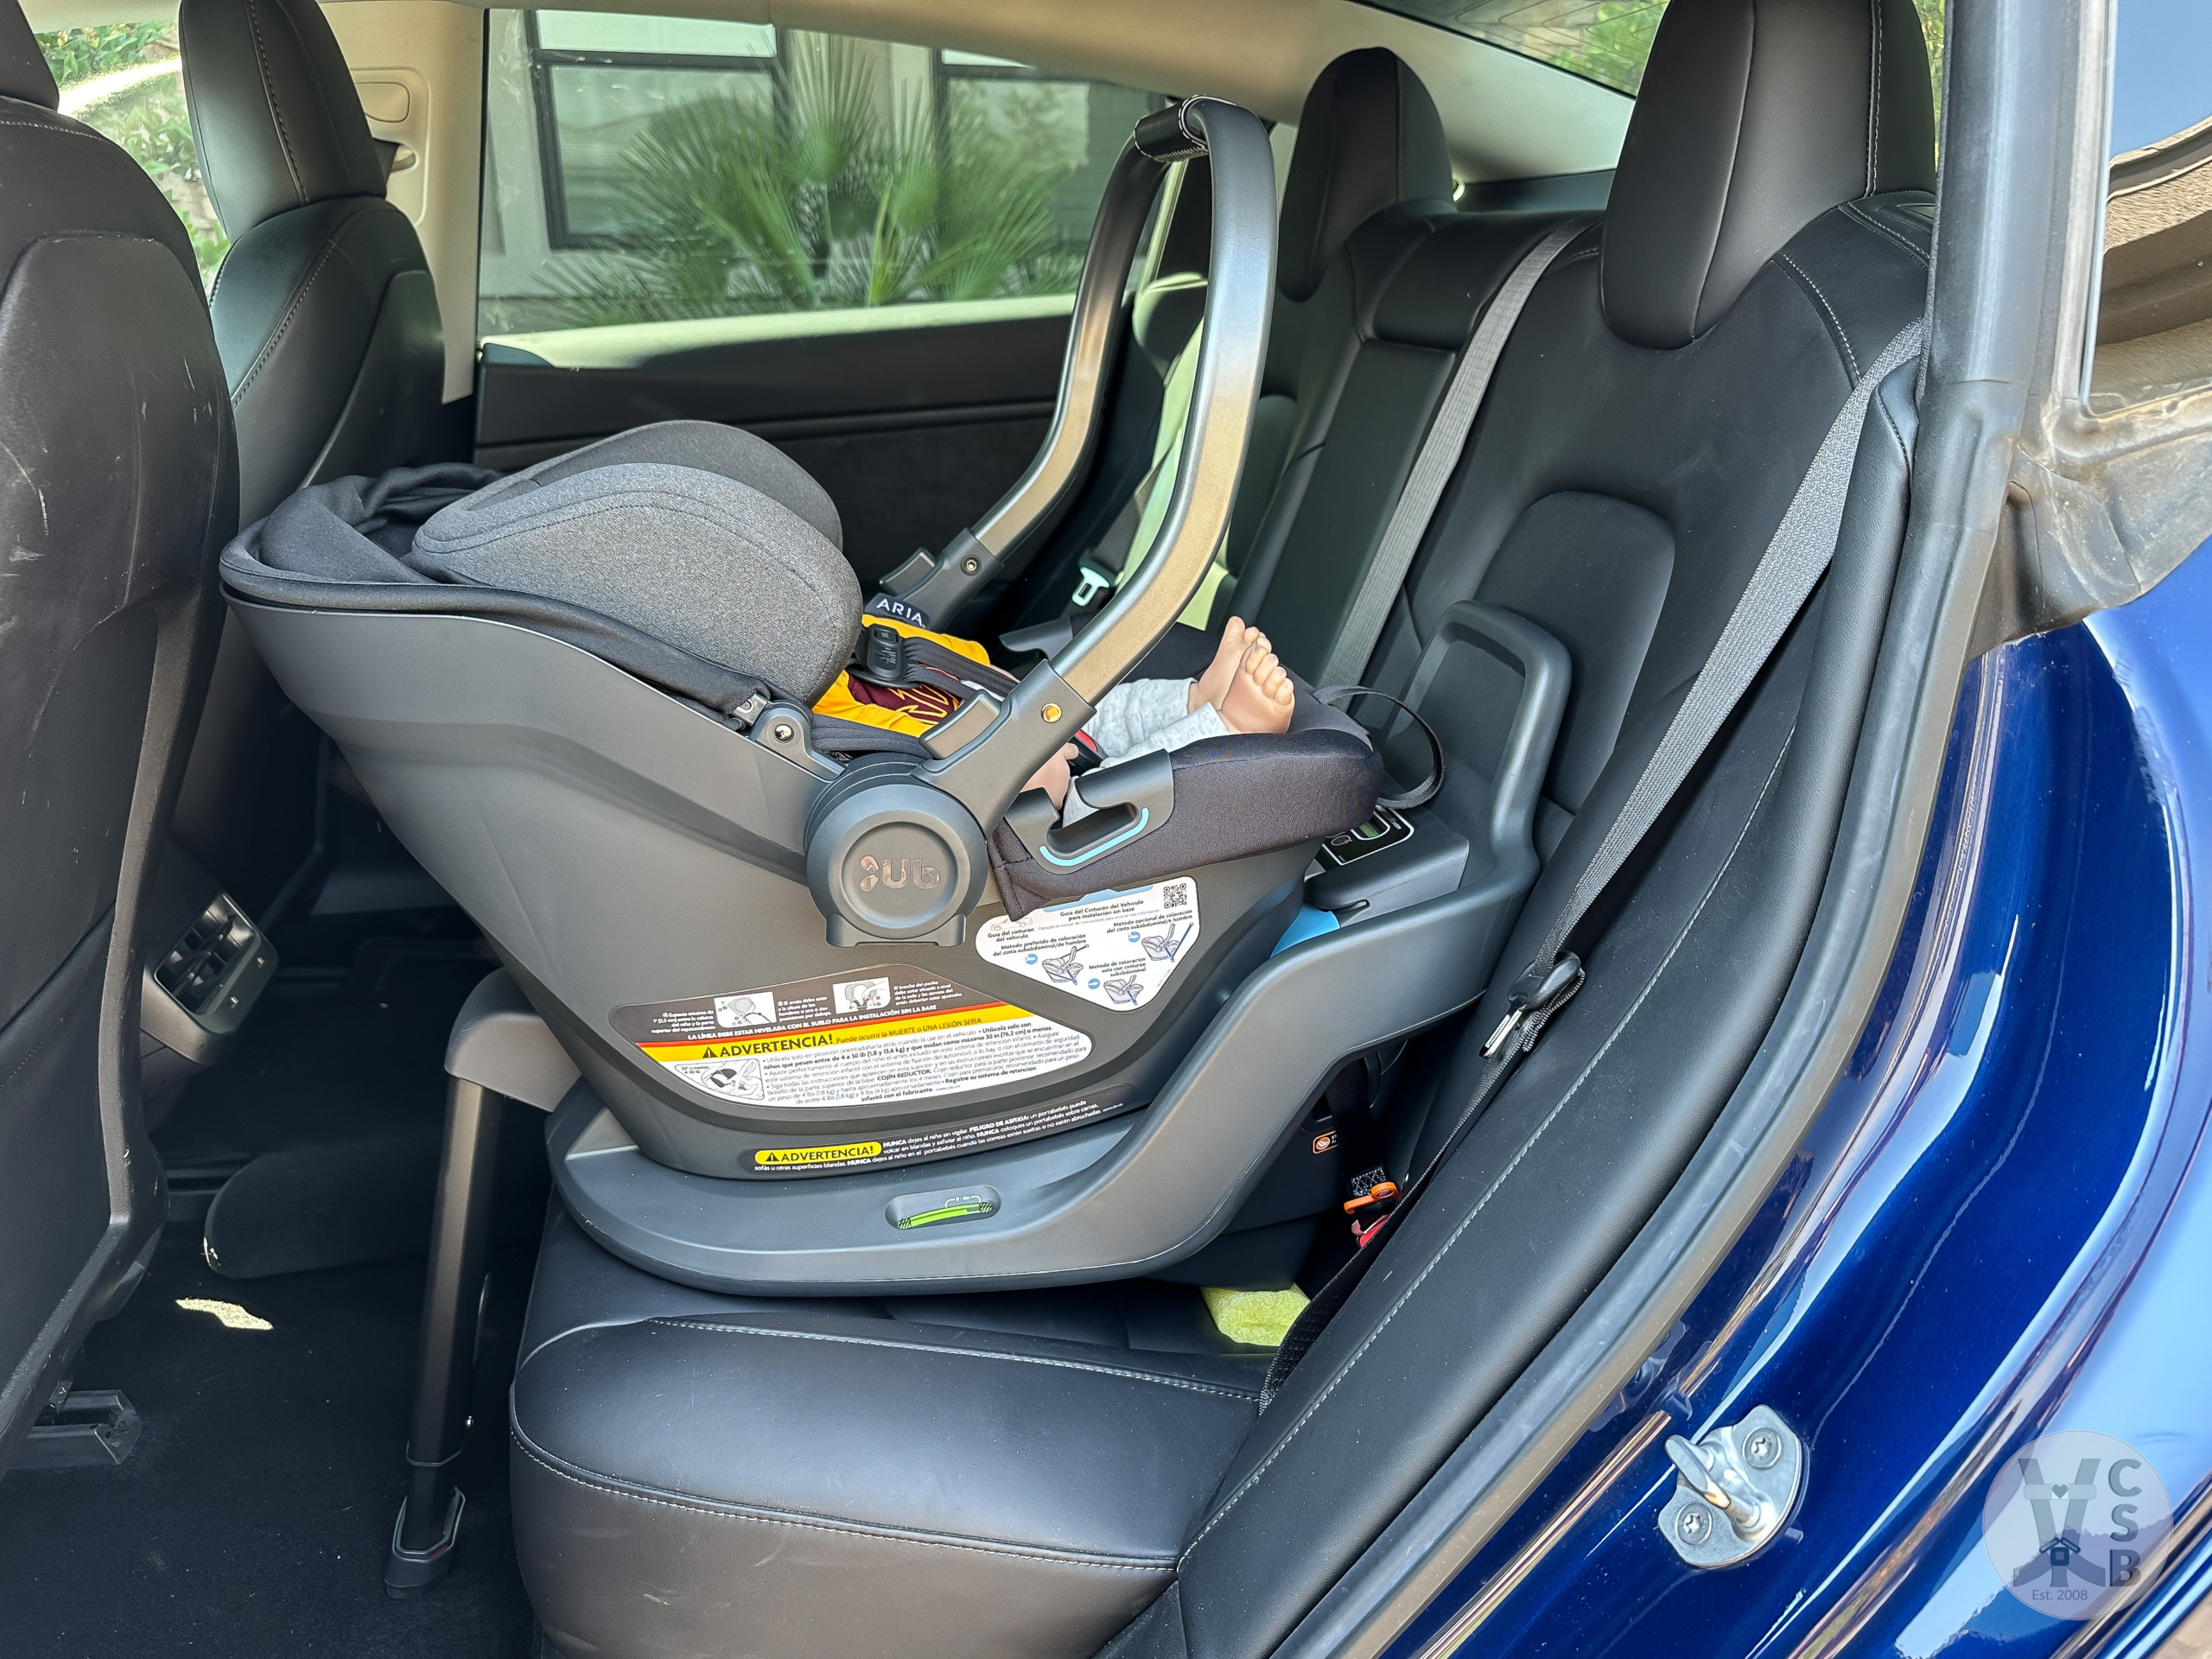
Installation with seatbelt – The Aria base has a gray lockoff used with the seat belt, so open it first, then run the lap/shoulder belt through the belt path. Pull the shoulder belt tight until the red disappears from the SMARTSecure™ visual indicator on the top of the base, then close the 2 sides of the lockoff over both parts of the seat belt.
Inflatable Seat Belts
UPPAbaby has determined that none of their current carseats can be installed with inflatable seat belts found in some Ford Motor Company and Mercedes vehicles. You must use LATCH to install an Aria base in these vehicles. In the case of inflatable seat belts on an airplane, you must find another location without inflatable belts (good information to know before booking your seats).
Installation without base – The Aria carrier can be installed safely without the base using the typical American belt routing method OR the Euro method. Using the American method, the carrier is secured directly to the vehicle with the lap portion of the seatbelt (do NOT place the shoulder belt through the belt path). This is very handy if you’re traveling by taxi/rideshare or airplane. No need to lug the base around with you! However, you have to know how to lock the seatbelt in the vehicle that you’re going to be riding in.
With the Euro method, the lap belt also goes through the belt path across the top of the carrier, but the shoulder belt routes behind the back of the seat instead of resting against the back of the vehicle seat. This usually ensures a very stable installation where the seat stays more upright in a frontal crash. The shoulder belt around the back of the carrier acts like the load leg does on the base in reducing downward movement.
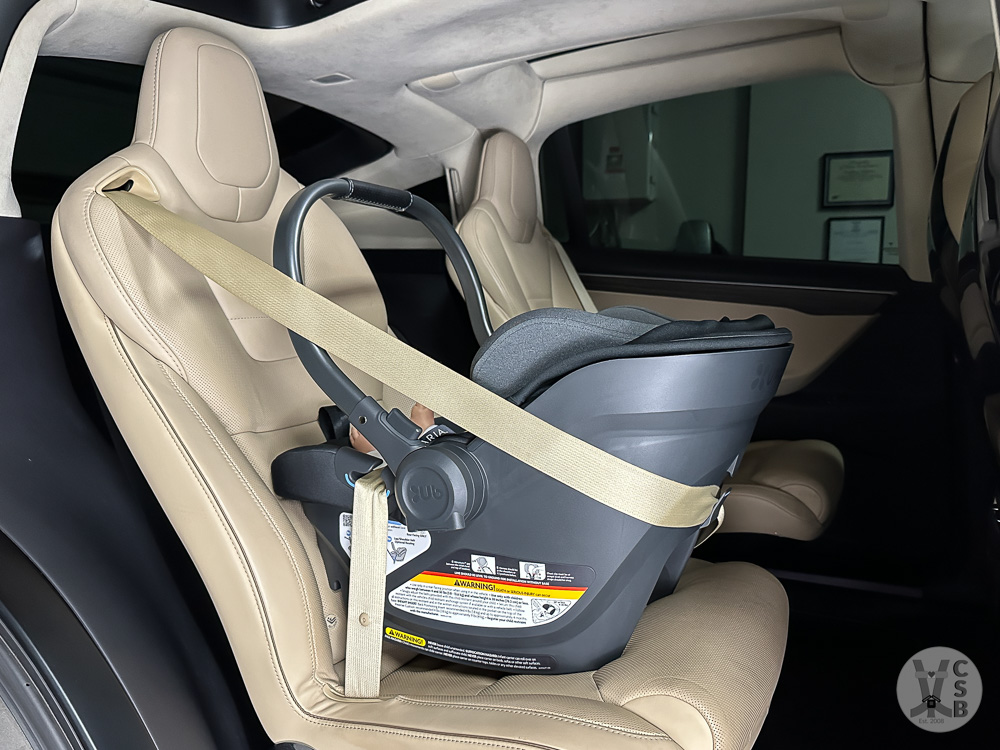
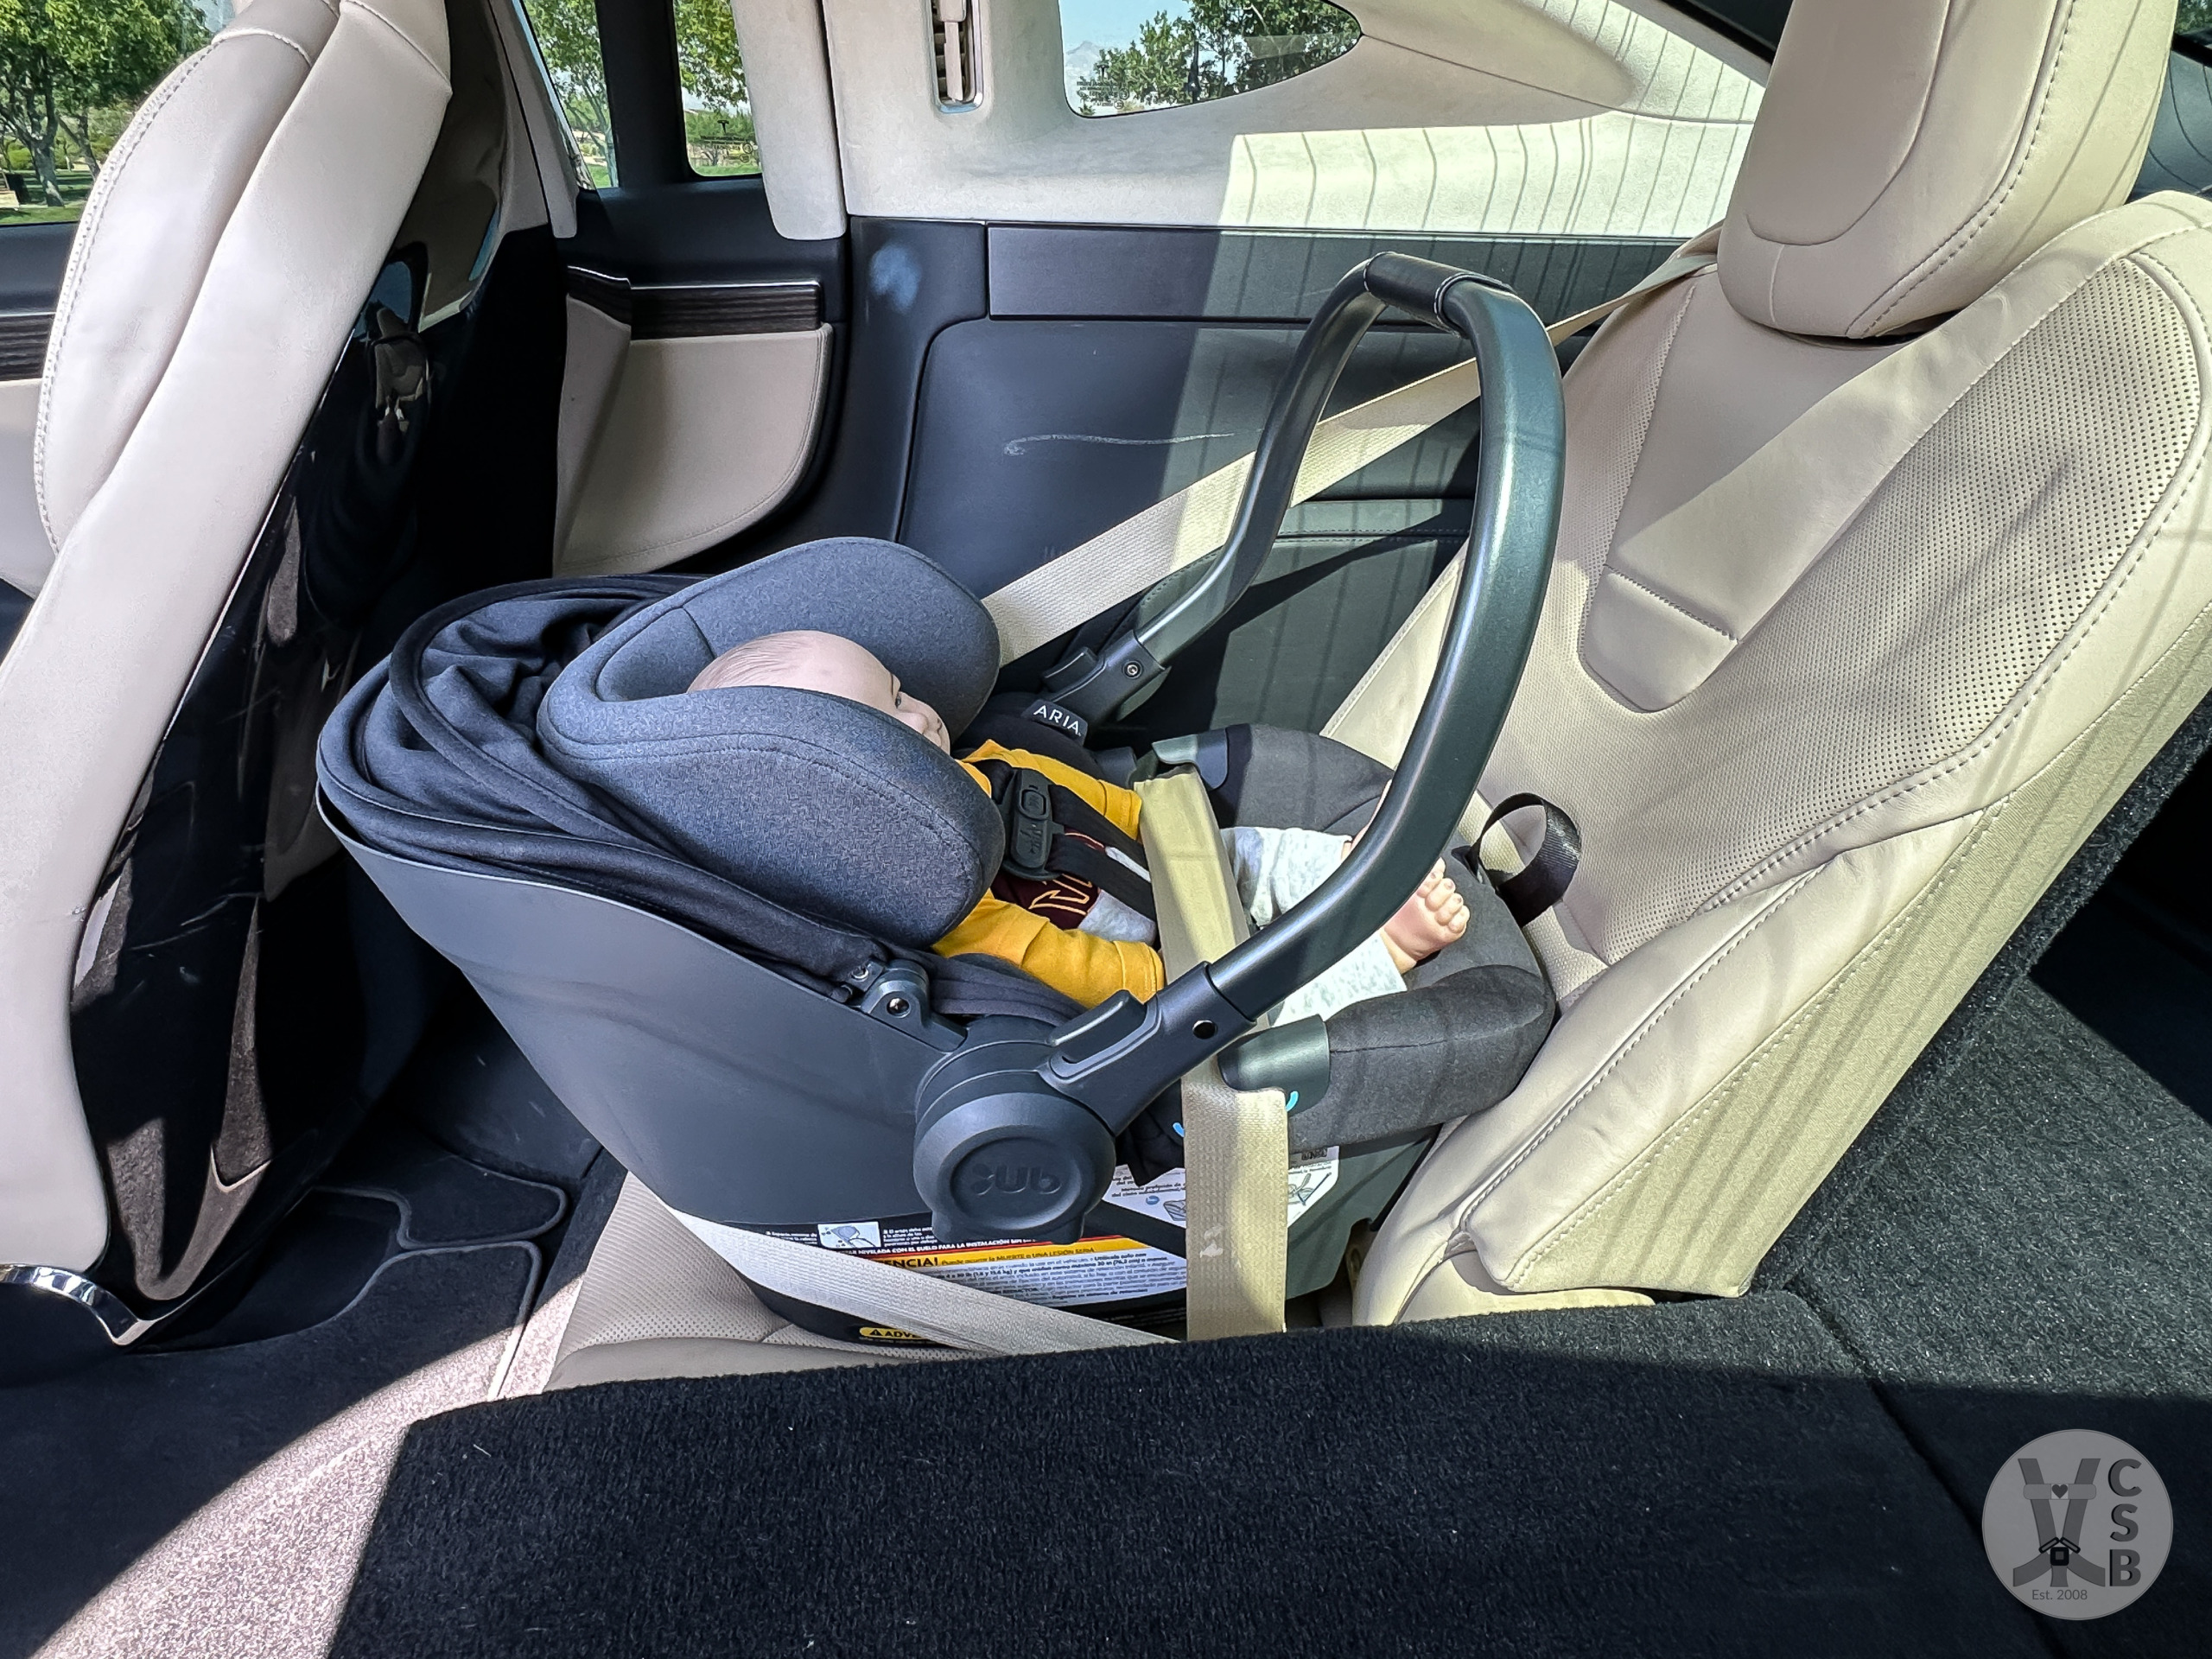
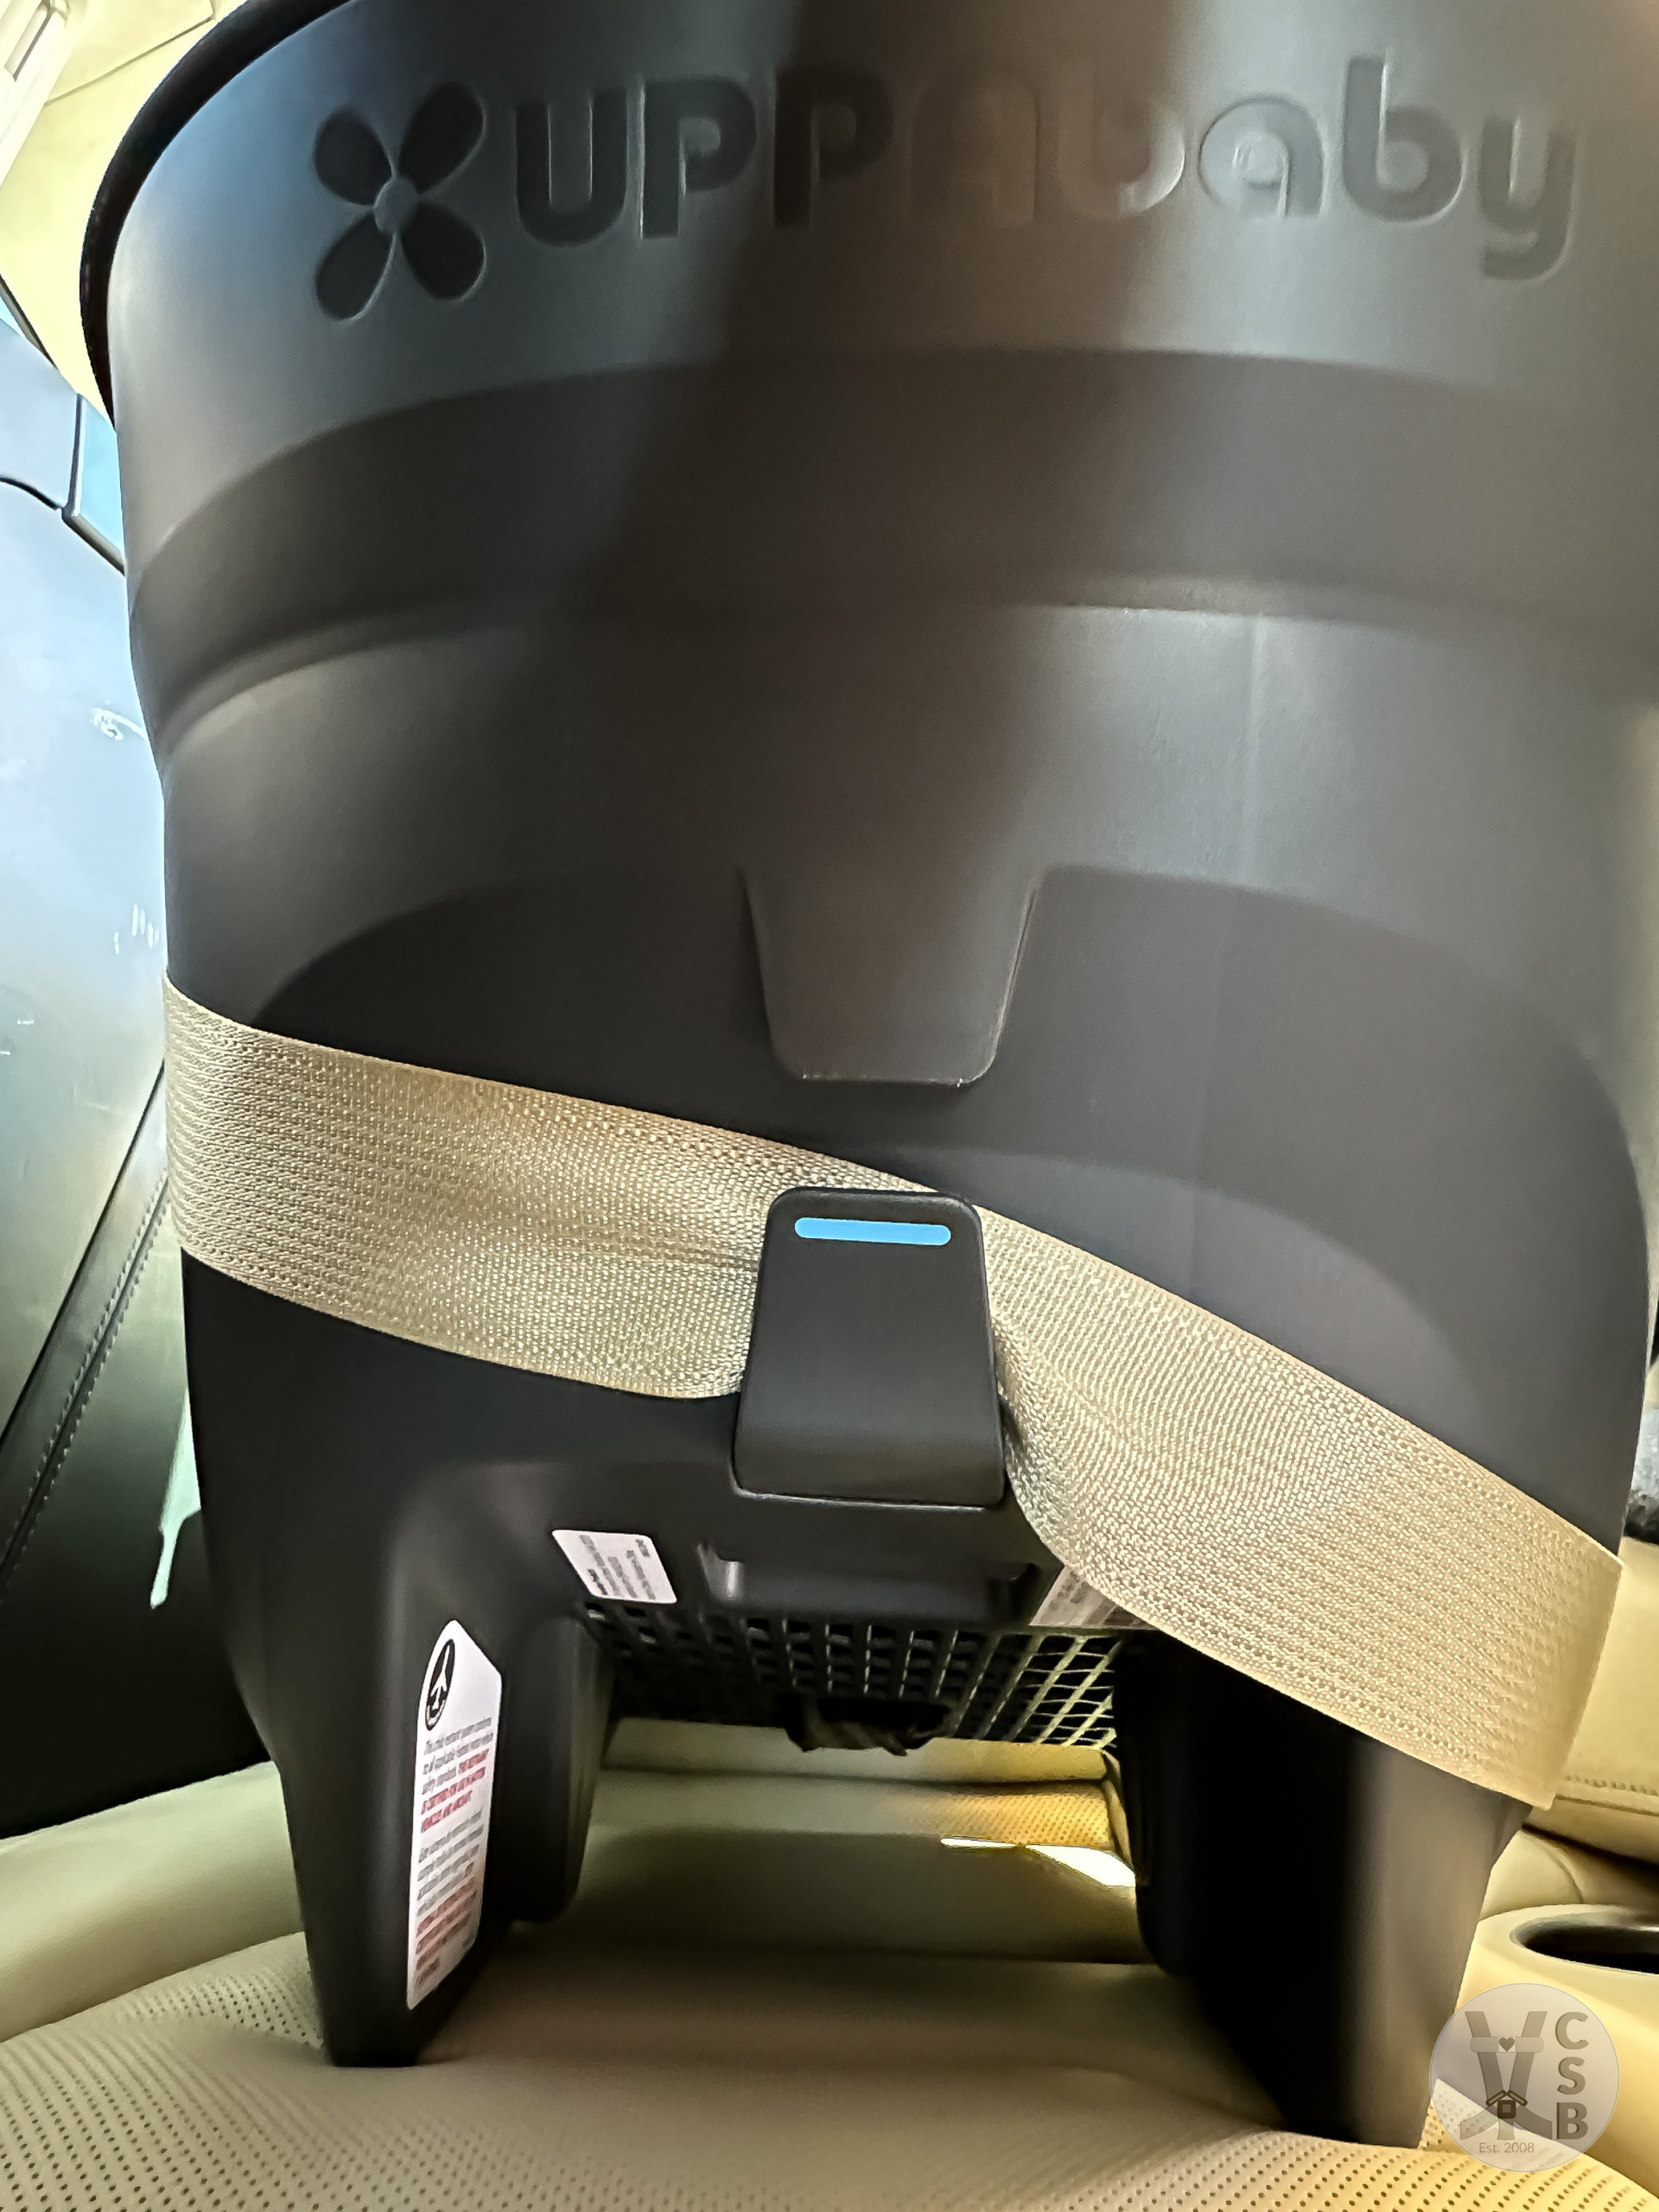
Handle – There are 5 handle positions, but UPPAbaby requires the most forward (over the child’s feet) to be used when in the vehicle. This helps reduce rebound motion (learn about that here) in a crash in addition to the anti-rebound panel found on the base.

A note about the aluminum handle: manufacturers use aluminum handles to lighten the weight of carriers; however, aluminum does get hot in the heat. If you’re out and about on a hot day in the Southwest and go to loop it around your arm, you’ll regret it. Stick to the leather grip in that case and you’ll be fine.
FIT-TO-CHILD
Child must have 1” of headrest above head at all times.
Infant Support Inserts
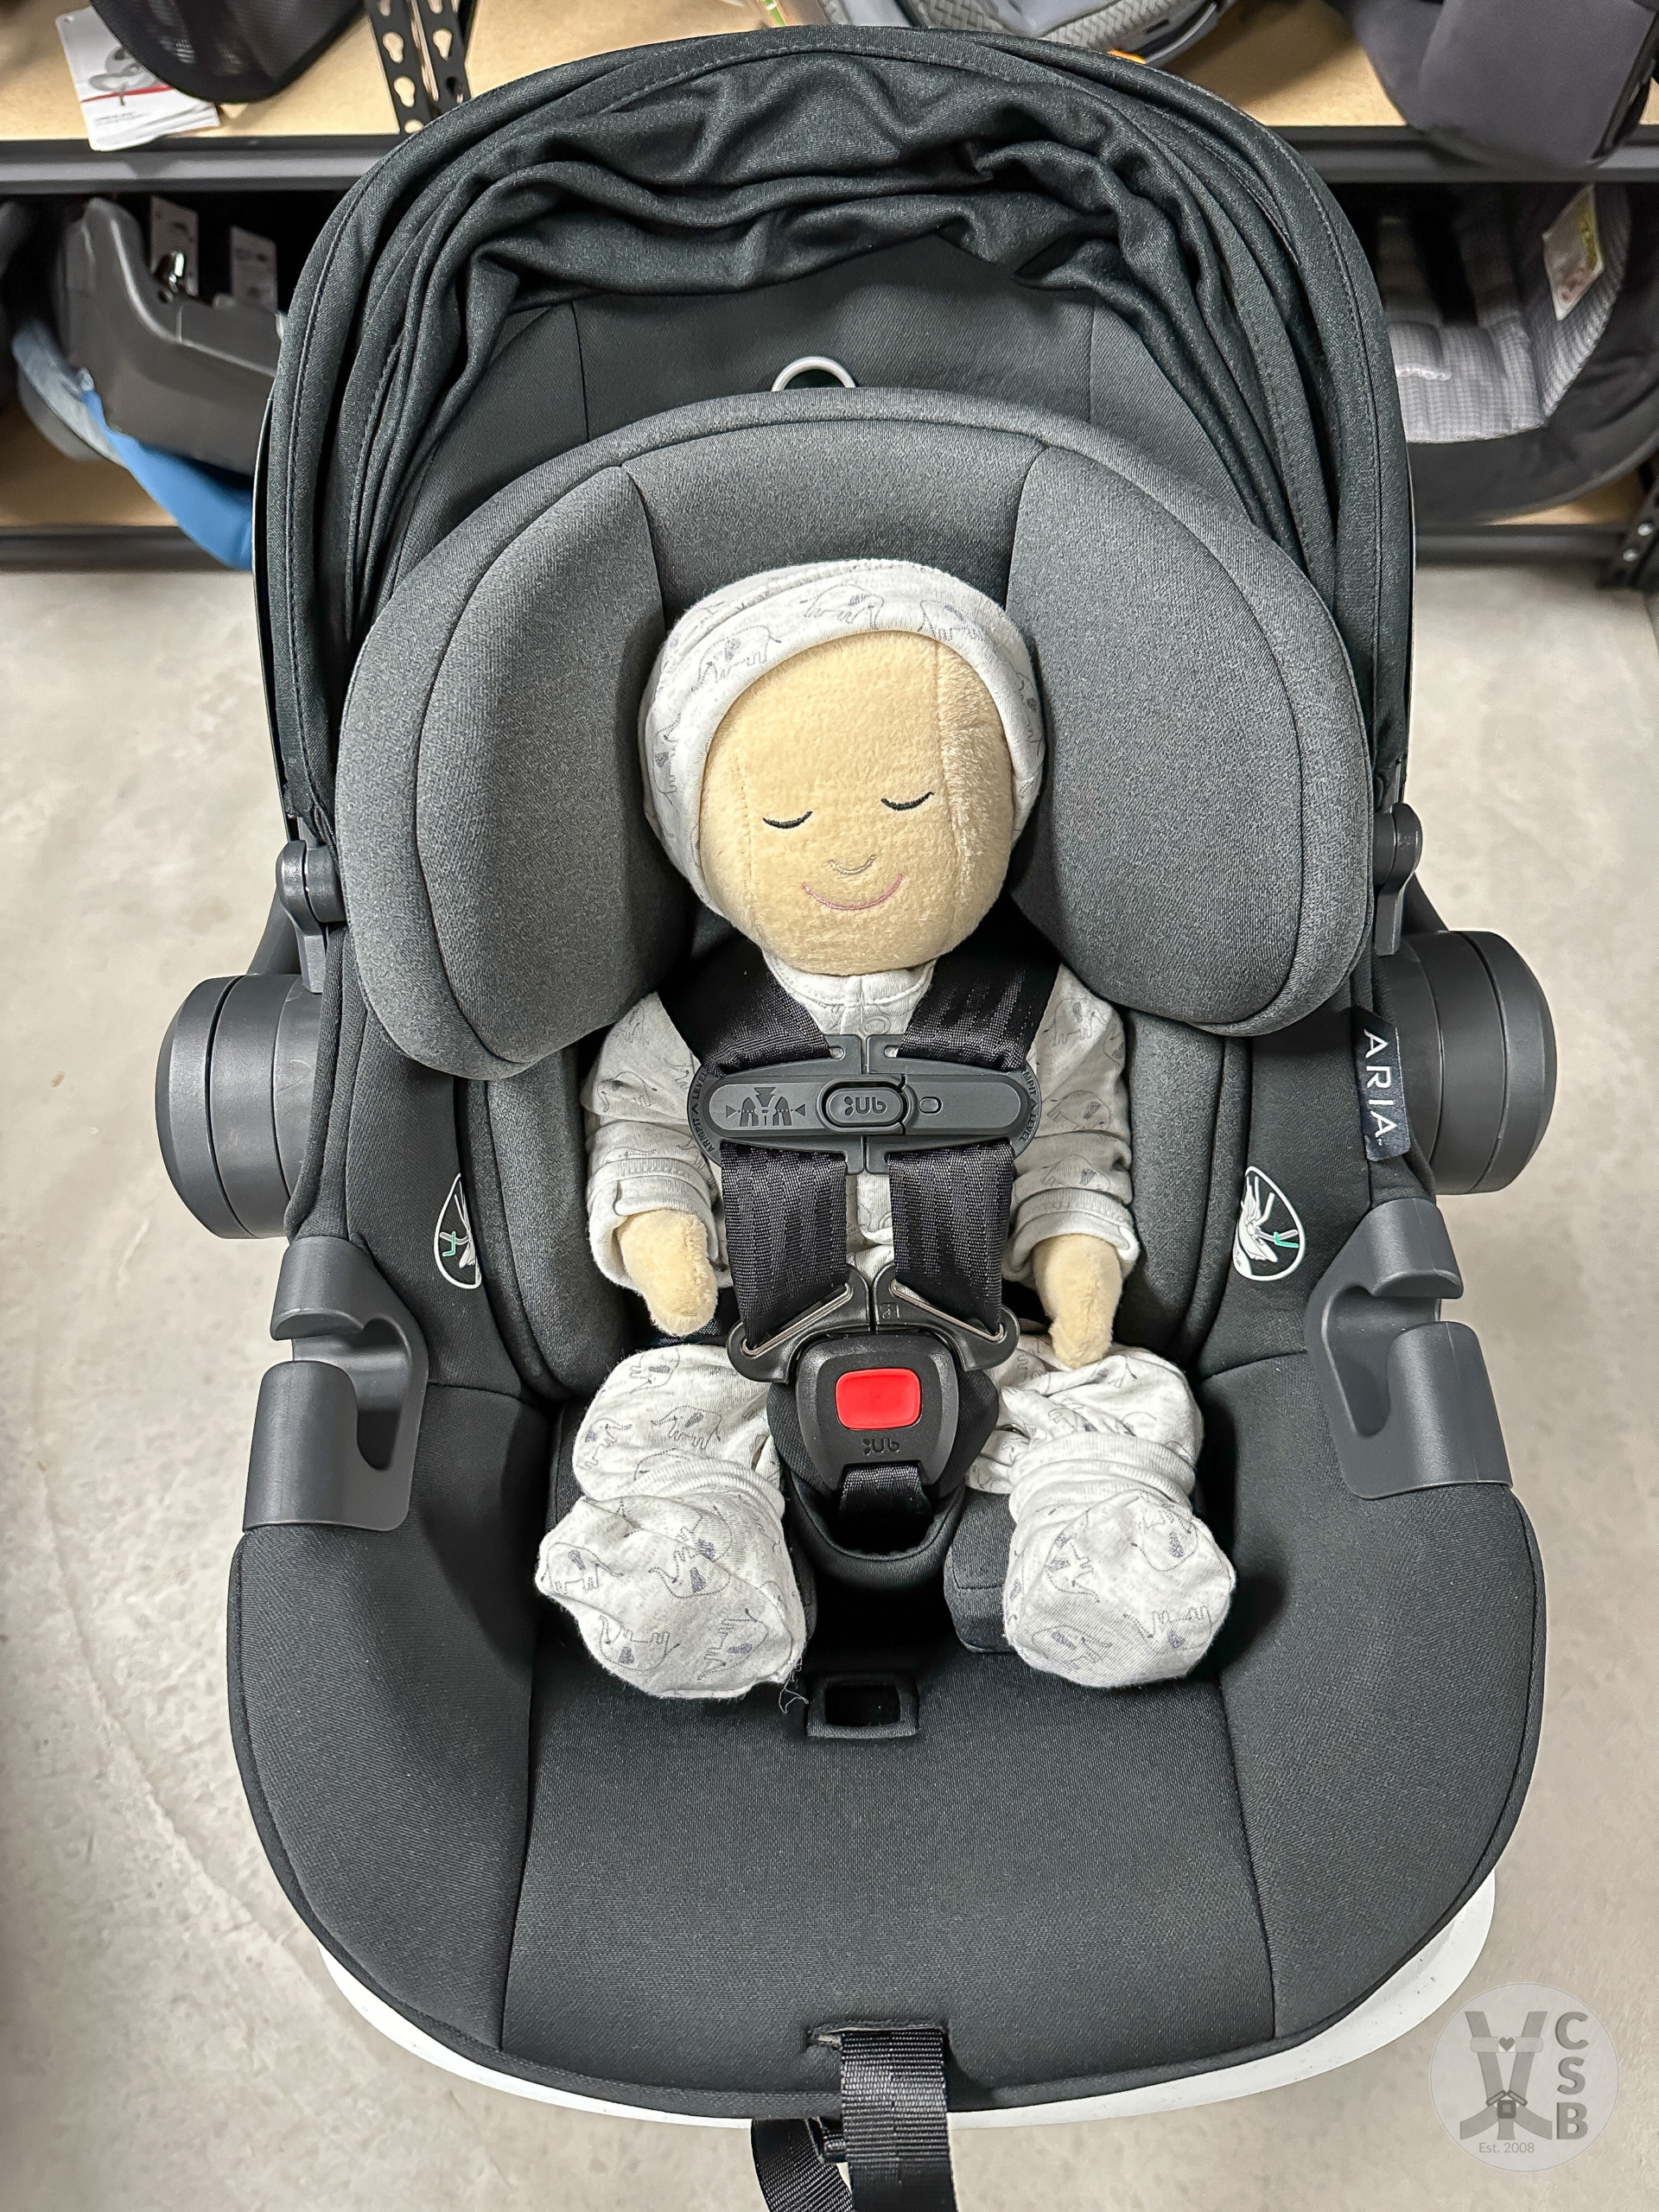
There are 2 positioning inserts: the preemie cushion and the back positioning insert. Harness pads are optional.
Preemie Cushion:
Use from 4 lbs to approx. 9 lbs.
Must use back positioning insert with it
Harness pads MUST be removed when securing a preemie
Page 56 in the owner’s manual gives criteria for fit and how long to continue to use preemie cushion
Make sure hip straps are aligned in the cutouts at the back of the pad during everyday use. They can get pulled forward and to the side.
Back Positioning Insert/Infant Insert:
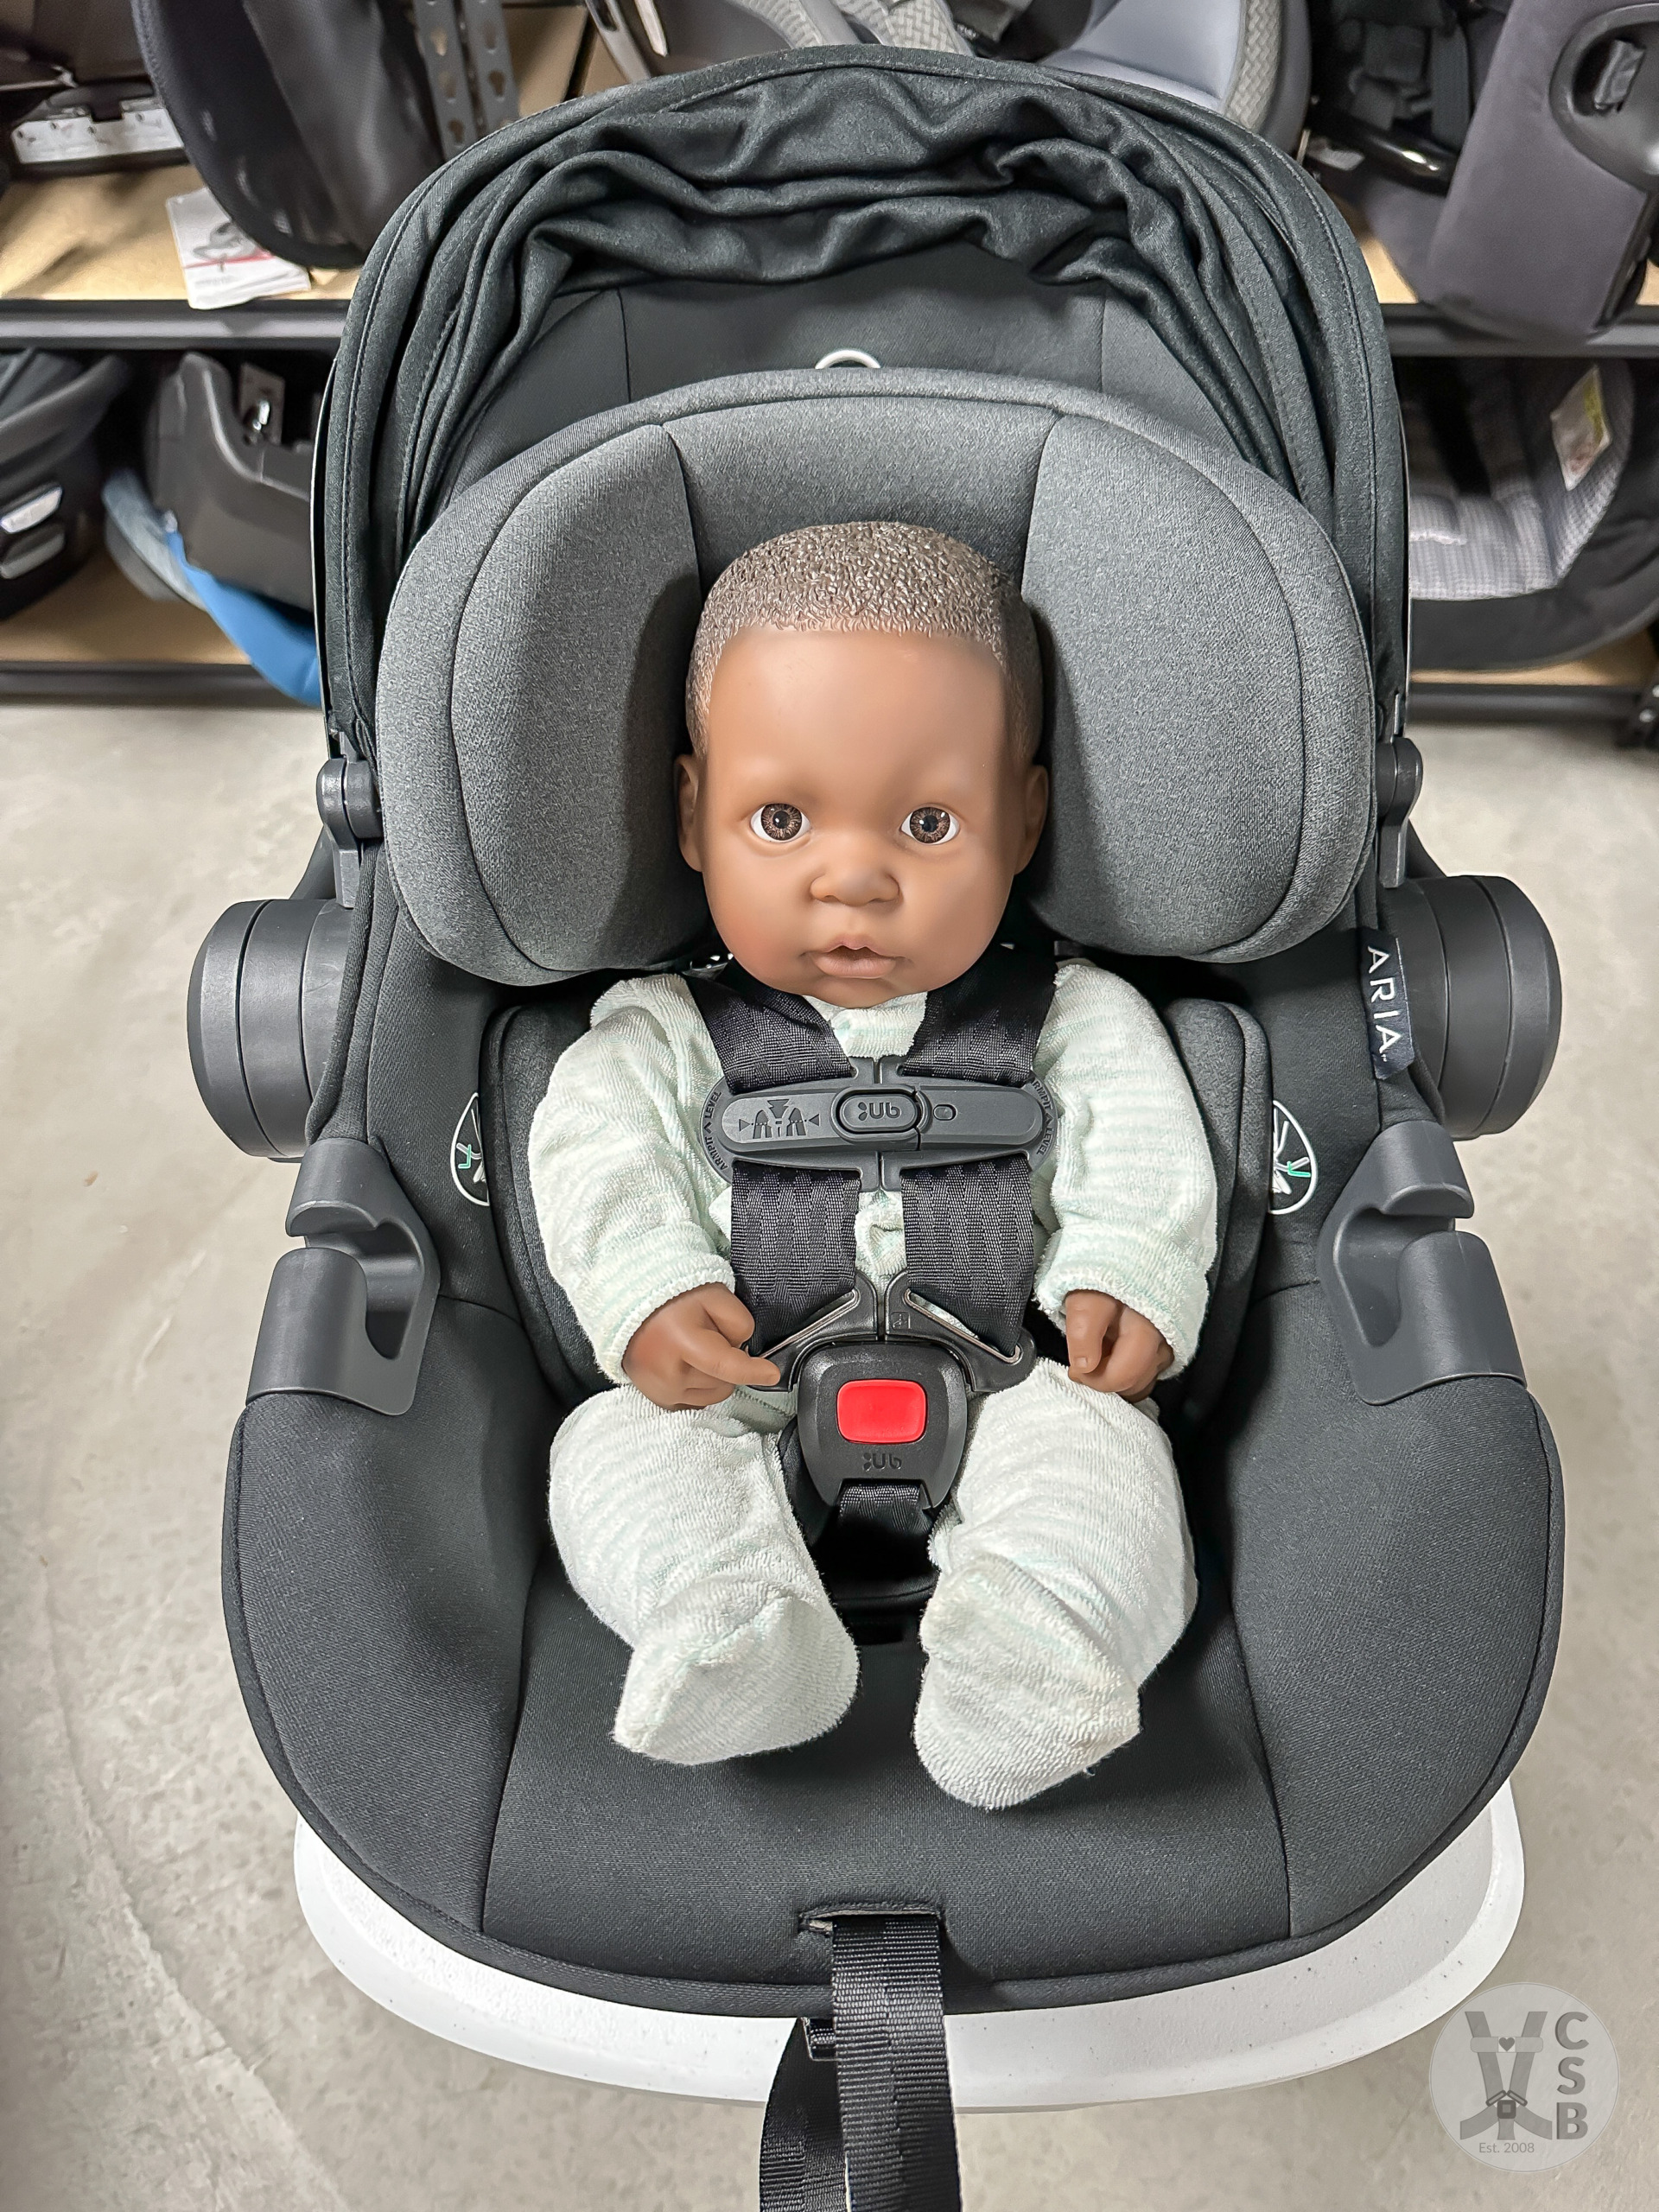
Use from 4 lbs to approx. 4 months
Used to keep chest out and in line with head
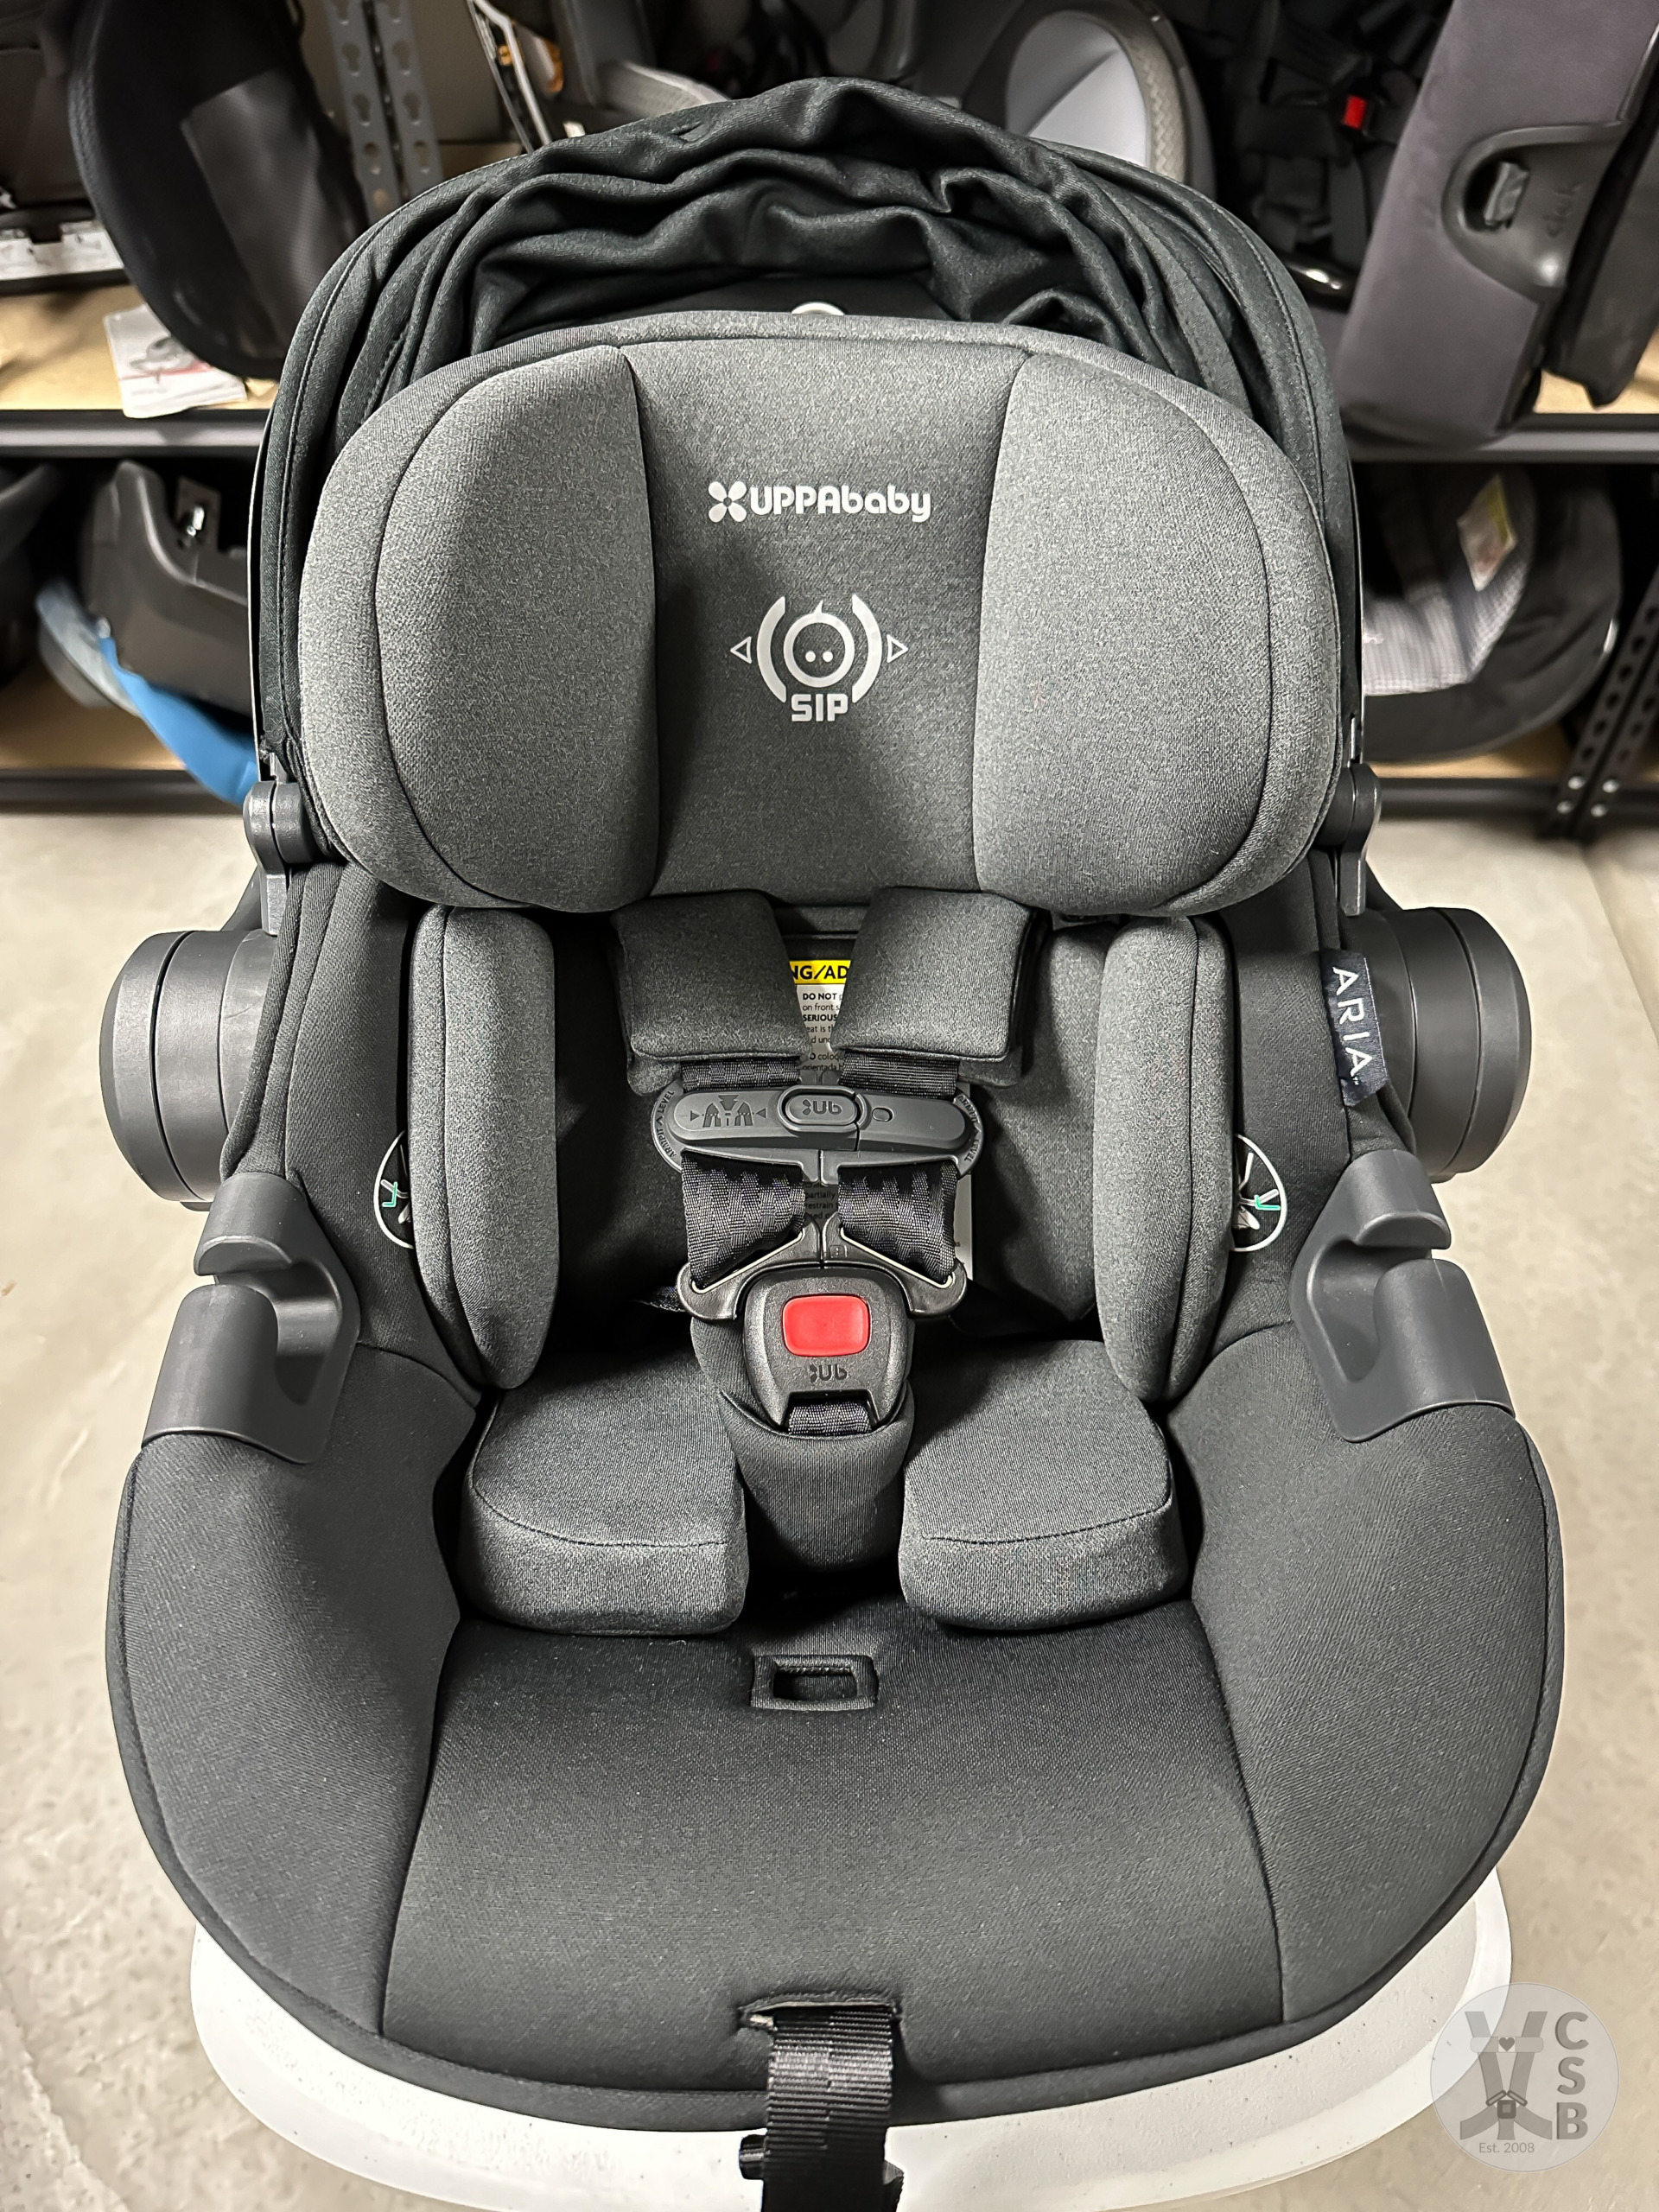
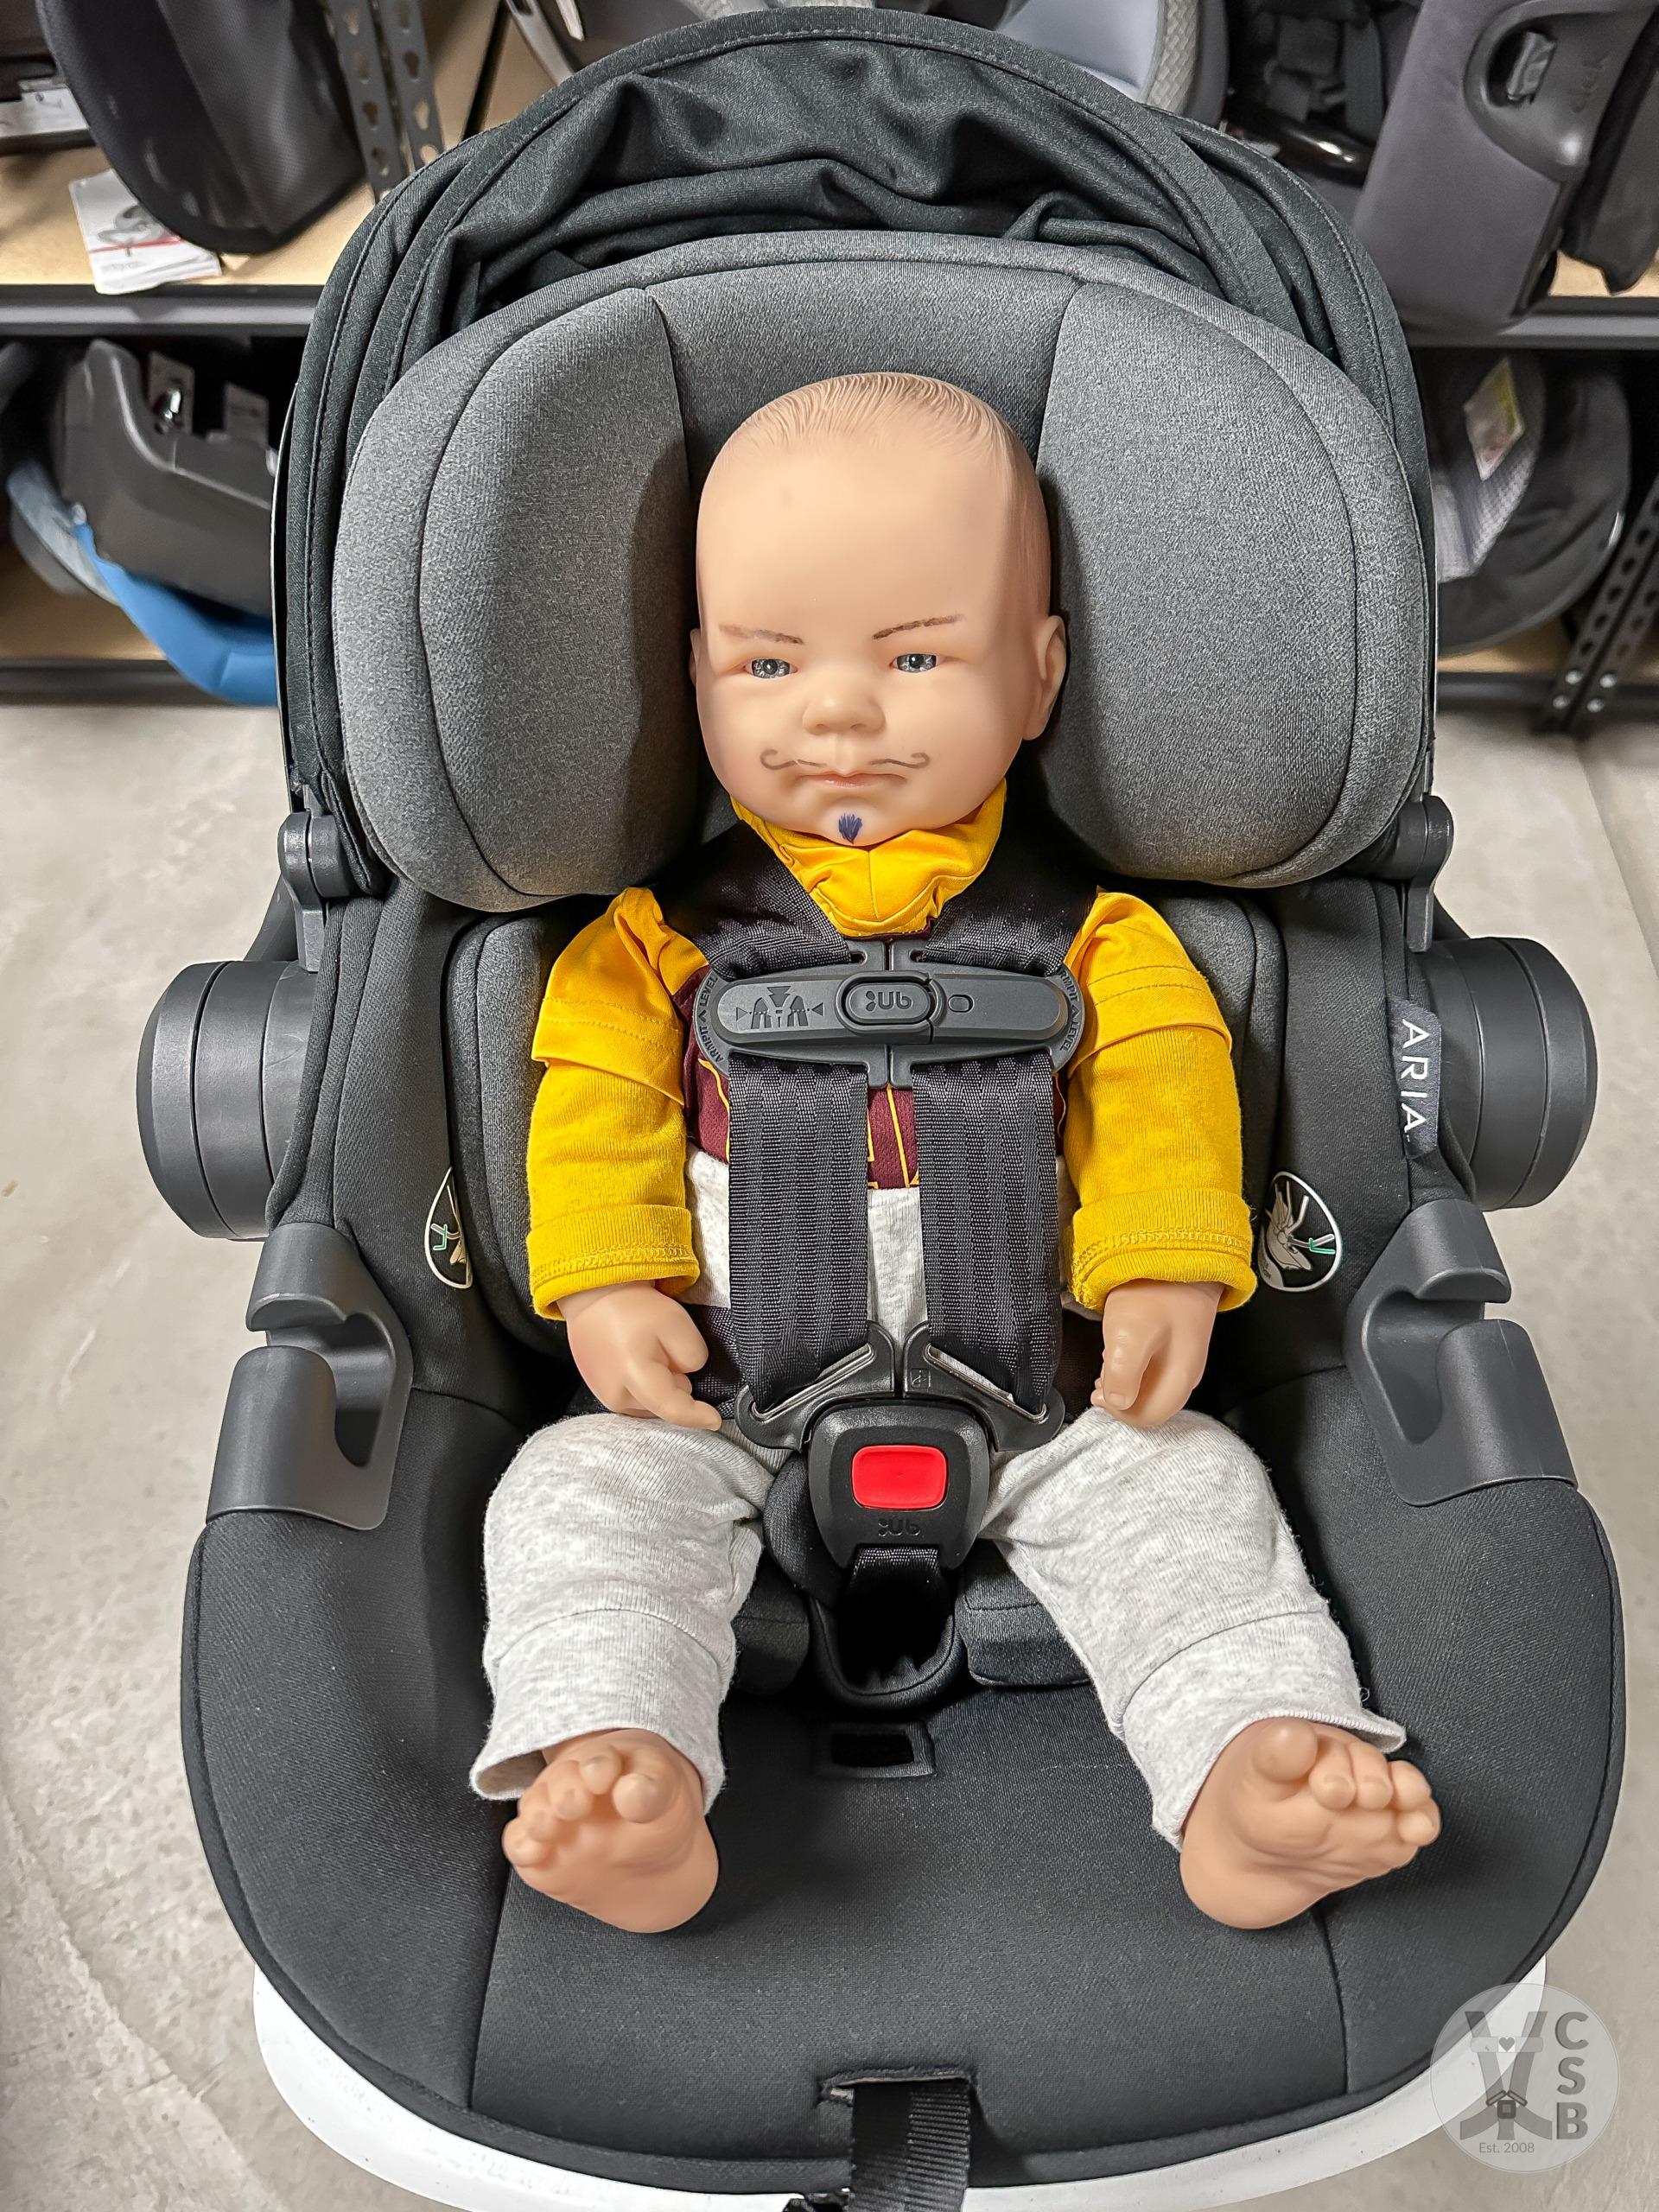
The harness height adjusts in ¼” increments, which makes it very customizable for each child. Since you’ll need to keep 1” of headrest above their head, it’s easier to do so because you can move the headrest up while still maintaining proper “at or below” harness position on their shoulders.
I got a great fit with all my dolls, from preemie to regular dolls, which are about the size of 1 month olds at I’d guess 9 lbs. The preemie and Romeo (gold outfit) have all the padding included while Howard (blue striped outfit) has just the back positioning insert, which stays in until around 4 months.
COVER/EASE OF USE/MAINTENANCE:
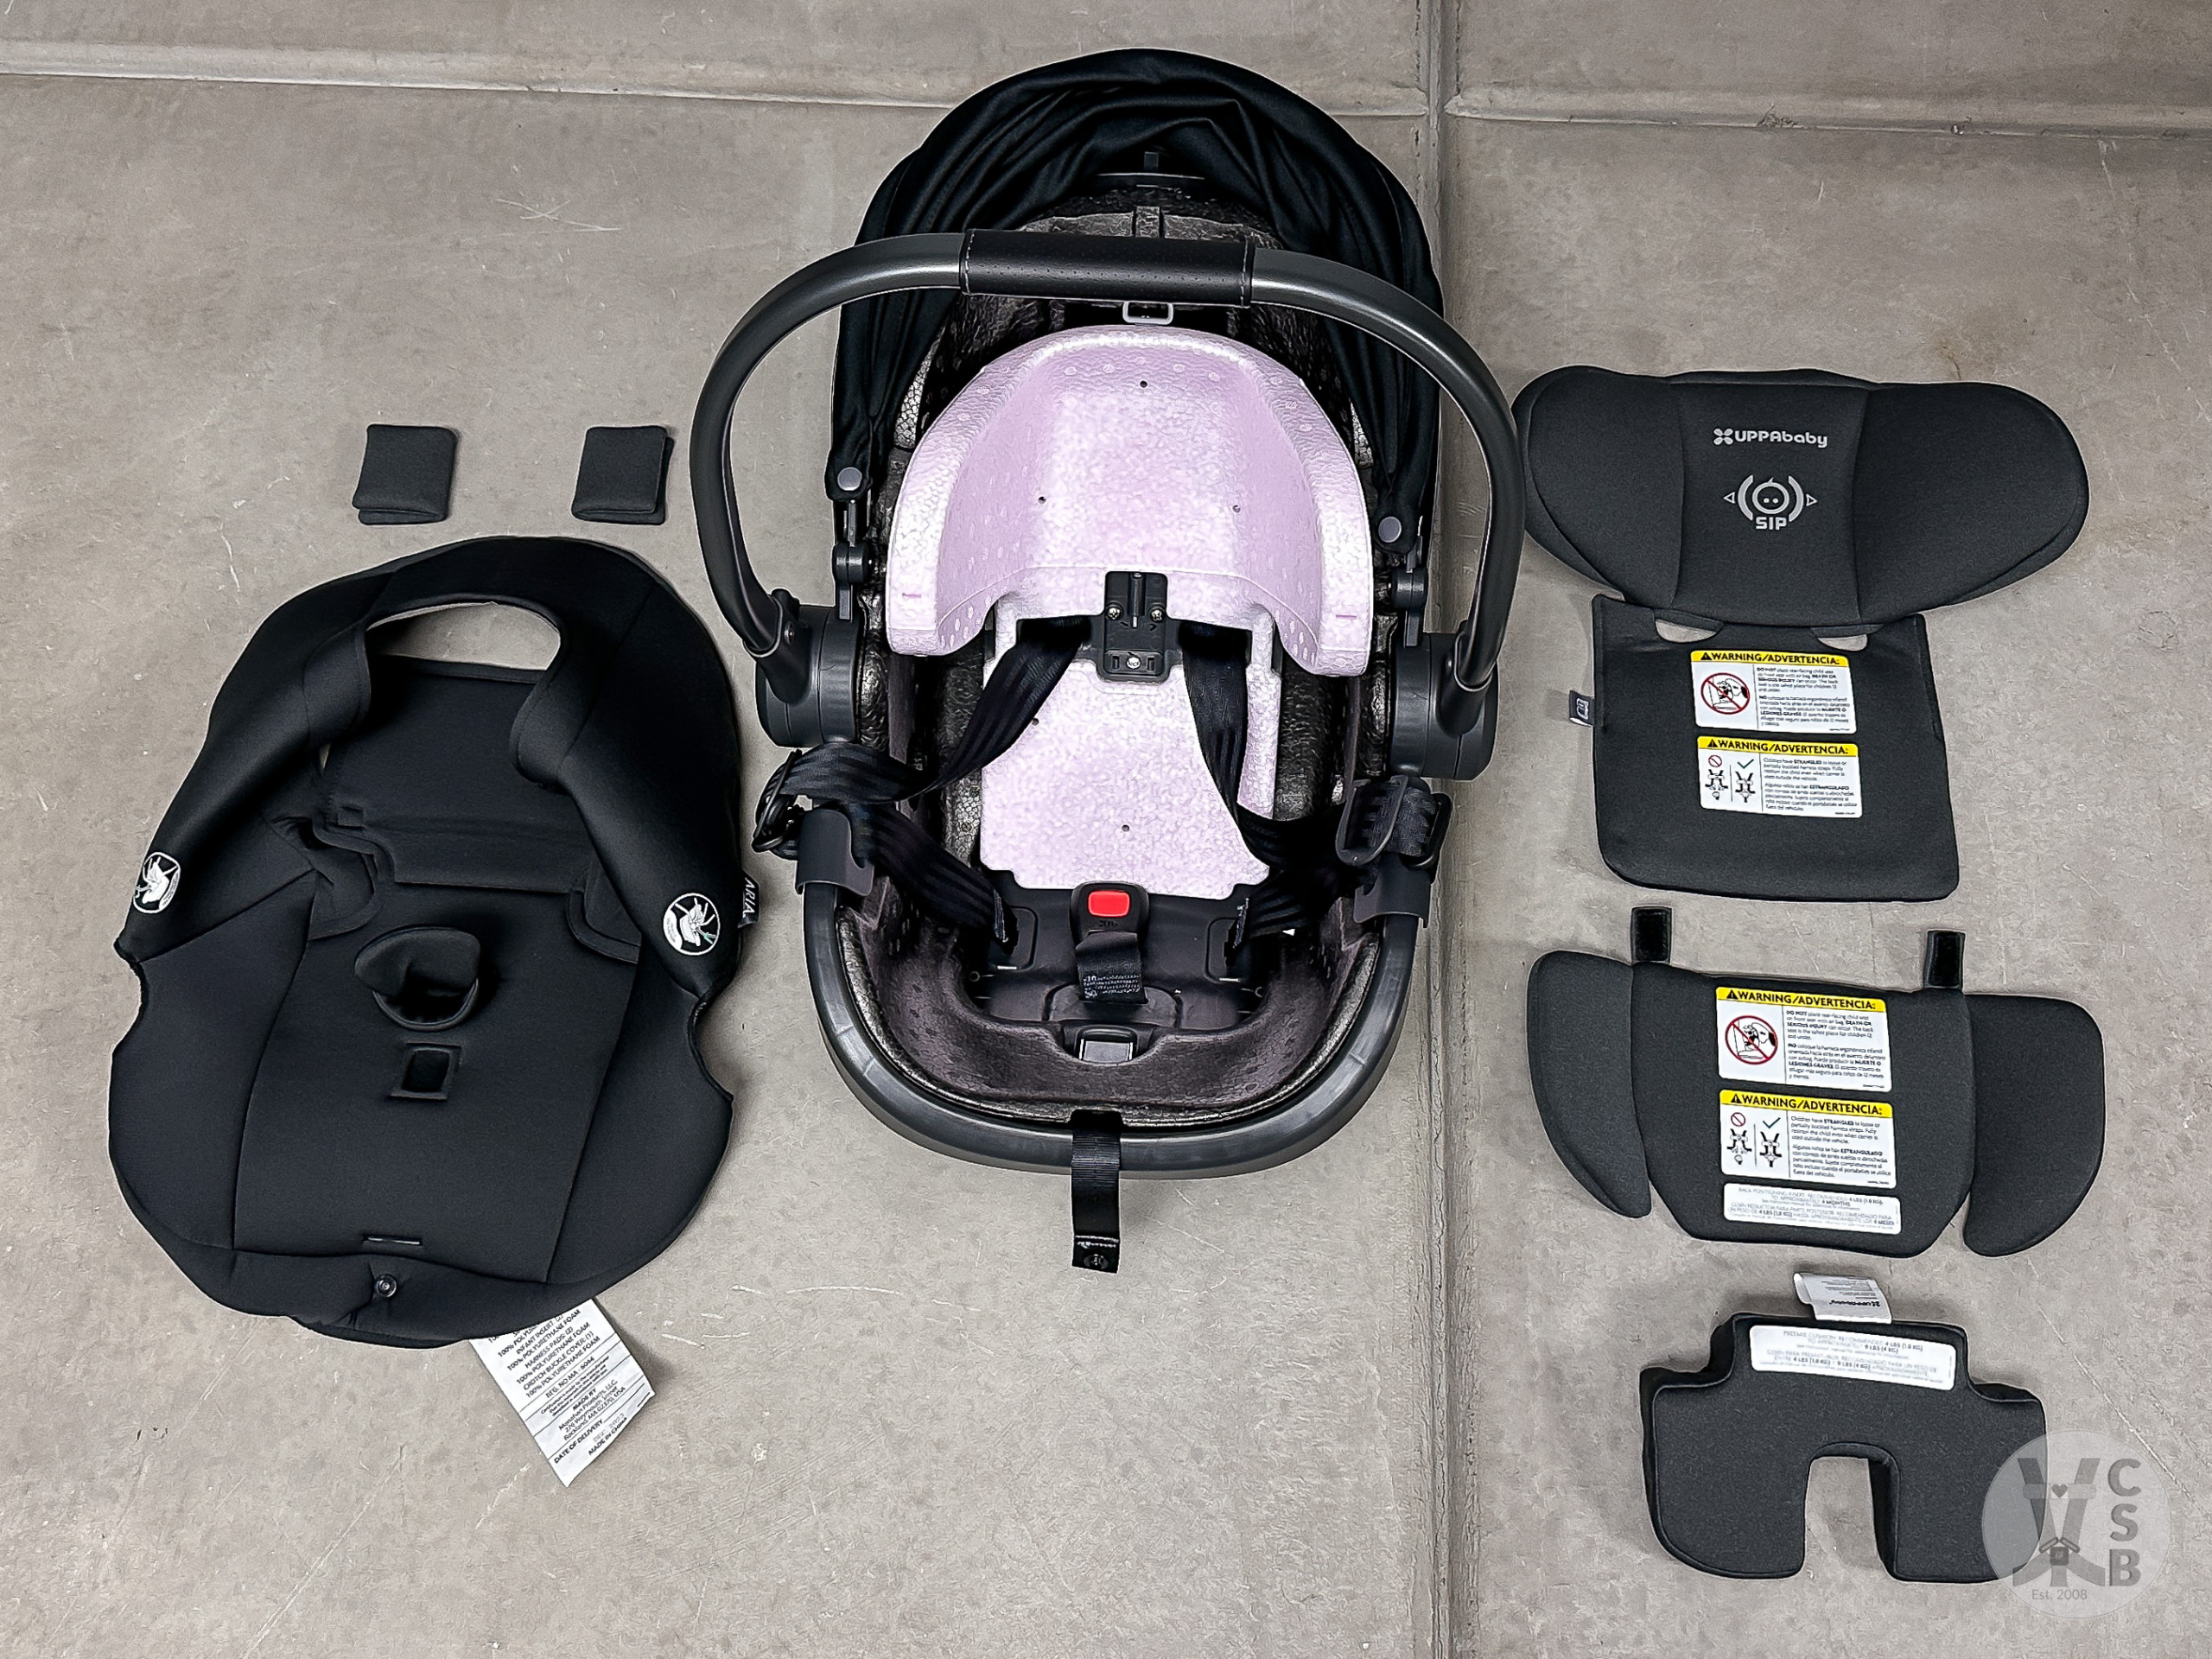
Removing the cover for cleaning is easy and you don’t have to remove the canopy, though there is a clip underneath that must be undone first. It took me about a ½ hour to remove the cover, get some pics, and put the cover back on—not bad. I didn’t read the manual first, but I did watch UPPAbaby’s video on removing the cover a week prior so it was semi-fresh in my memory.
An ease-of-use note: the harness release button for loosening the harness is set unusually far back on the seat toward the crotch buckle. I found this placement awkward and every time I pressed the button, the carrier tipped forward.
FAA-APPROVAL/LIFESPAN/CRASH GUIDELINES:
FAA-certified for use on airplanes (carrier only) and only using regular airplane seat belts (no inflatable seat belts)
7 year lifespan before expiration
The Aria must be replaced after any crash.
Stroller Compatibility:
Aria Advantages:
Lightest carrier on the market
No-rethread harness
European belt routing for baseless installations
Anti-Rebound + Panel, plus 5th handle anti-rebound position
Built-in lockoff
Auto-retracting LATCH
Narrow
SMARTSecure™ system provides visual confirmation of tight installation using red/green indicator at belt path and on load leg
Meets new FMVSS 213a side impact standard and 213b testing protocols
Extra-large canopy with extension
Back panel ventilation for additional airflow to keep child cool
GREENGUARD Gold Certification with flame retardant free DualTech™ fabrics
Complimentary virtual consultations with a CPS Tech for product support available
Disadvantages:
(In fairness, these aren’t necessarily problems but I list them here to inform potential consumers of specific Aria issues)
Floor mats need to be removed
LATCH installation may require retightening
Harness release button set far back on seat making loosening harness awkward
Aluminum handle gets hot in the heat. This is not exclusive to the Aria, but to all carriers that have aluminum handles.
Conclusion:
I can’t tell you if the UPPAbaby Aria is truly the lightest rear-facing only infant seat on the market or not—it definitely ranks up there in the top 3. I’ll let UPPA fight out that distinction with their competitors. This RFO version has the same great luxuries you expect of UPPAbaby, such as GREENGUARD Gold Certification with flame retardant free fabrics, a built-in lockoff on the base, self-retracting LATCH, load leg, complimentary online consultations with a CPS Tech, and more. The UPPAbaby Aria carseat hits all the right notes with its comfort, versatility, and ease of installation to create a symphony of benefits that outshine its dissonances.
For more information on the UPPAbaby Aria, visit UPPAbaby’s website: uppababy.com/car-seats/infant/aria
Thank you to UPPAbaby for providing the Aria rear-facing only infant seat sample for this review. No other compensation was provided. All opinions expressed are those of CarseatBlog.
