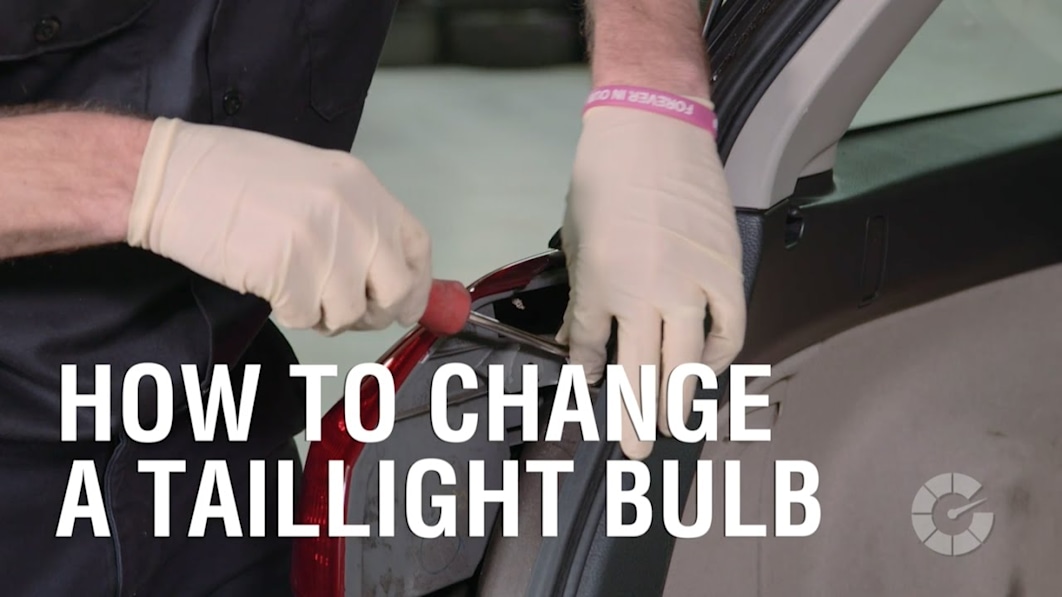
How to change a taillight bulb | Autoblog Wrenched

Autoblog may receive a share from purchases made via links on this page. Pricing and availability are subject to change.
Don’t let yourself get a ticket over a burnt out taillight. It’s easy to change the bulbs yourself. Here’s how.
Watch all of our Autoblog Wrenched videos for more tips on how to diagnose, fix, and modify cars from professional detailer Larry Kosilla. While you’re at it, check out Larry’s other car cleaning and maintenance video series Autoblog Details!
Materials Used:
Instructions (video transcript):
[00:00:00] [Larry] Taillight bulbs are one of the things you don’t give much thought to. But the fact is you can be pulled over and issued a ticket for a burnt out bulb. Replacing a bad bulb is pretty simple once you know how. Here are the tools you’ll need to do it yourself. Replacement bulbs, gloves, Phillips-head screwdriver, and flat-head screwdriver. I’m Larry Kosilla, pro detailer and trainer for the last 15 years. But when it comes to what’s under the hood, I’m the student. Follow me as experts teach me how to diagnose, fix and modify cars on Autoblog Wrenched.
[00:00:30] Hey when you pulled into shop I noticed you had a taillight out. – Aw man seriously? Is this something we can fix right now? – It’s really easy and I’ll show you how. – [Larry] When you realize a bulb is out get a friend to get in your car and test all the lights to locate the specific bulb that’s blown, as there can be more than one in any given light assembly. Once you’ve determined which bulb was blown consult your owner’s manual or an online resource to determine the replacement bulb’s number or simply visit an auto parts store and they’ll give you the appropriate numbers on the spot.
[00:01:00] Now in some vehicles the rear bulbs are accessible through a panel in the trunk or the rear hatch of the car. You’ll need to open a panel door or remove a section of the interior trim to reach the bulbs. You might also need a flat-head screwdriver to pop off a retainer clip to remove the trim panel itself. However, if your car does not have an access panel you’ll need to remove the taillight assembly. Look for plastic fasteners holding the assembly to the body. The fasteners can be gently pried with a flat-head screwdriver but be careful
[00:01:30] not to bend or break them. Next, remove the screws holding the taillight to the frame of the car and set them in a safe place. With all the screws out try to carefully wiggle the assembly and jiggle it so that it pops out. If you need some extra help try using a flat-head screwdriver but be gentle as taillights are typically plastic and expensive to replace. Once the assembly is out you’ll see connectors in the back. Twist the base of the connector and remove the bulb.
[00:02:00] Notice the black or burnt bulb and the missing filament. Unlike halogen bulbs you can touch taillight bulbs because they don’t generate high heat. But it’s still a good idea to use gloves or cloth when installing a new bulb to avoid getting grease or oils on the glass. Carefully install the new bulb into the plastic housing while trying to avoid bumping the sides. Once it’s in twist again and lock it into place. Now have your friend test the bulb before tightening the screws.
[00:02:30] If the light works you’re done so reinstall the assembly. There will most likely be pins on the housing that you need to line up with holes on the body structure. Line these up first before pushing or tapping the assembly back into place. Reinstall the fasteners and guess what? You’re done. Driving around without a taillight makes your car and your intentions less visible to the cars around you. So don’t wait to fix that burnt out bulb. For more how to car repair videos visit autoblog dot com slash wrenched. I’m Larry Kosilla from ammo NYC dot com as always, thanks for watching.


